
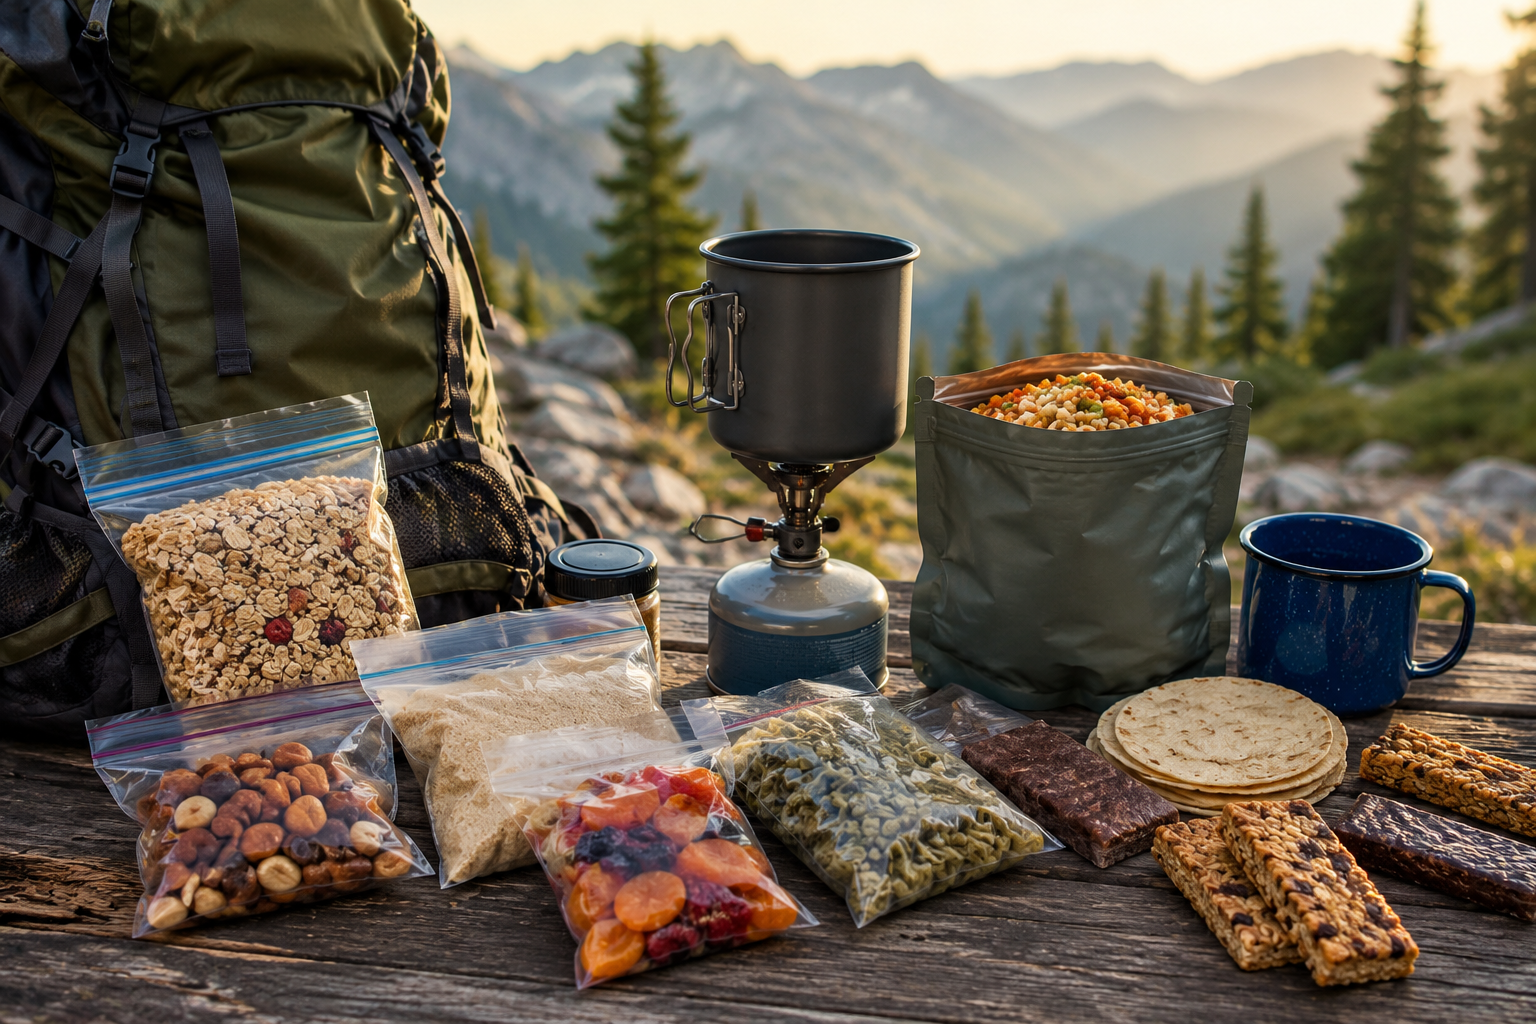
Food is the heaviest consumable in a backpacker’s kit, and it’s also one of the easiest categories to get genuinely wrong in either direction. Pack too little and you’re bonking by day three, running on empty at exactly the point in a trip where your body needs the most fuel. Pack too much and you’re hauling dead weight up every climb for the rest of the trip, carrying calories you never end up eating. Pack the wrong things — low-density, bulky food that doesn’t deliver real energy per ounce — and you can hit your target weight while still leaving your body genuinely under-fueled for the effort you’re putting out.
The good news is that meal planning for backpacking follows a genuinely learnable system once you understand the core numbers and principles behind it. This guide covers how many calories you actually need, how to calculate food weight for a trip of any length, which foods deliver the most energy per ounce, and how to structure breakfast, lunch, dinner, and snacks around the realistic demands of trail days. For the gear that carries this food and cooks it, our best hiking cookware guide covers stove and pot options, and our best hiking lunch containers guide covers the containers themselves — this guide focuses specifically on what actually goes inside your food bag.
How Many Calories You Actually Need
Backpackers burn a genuinely significant number of calories on trail, and the range is wide enough that a single blanket number doesn’t serve everyone well. On average, backpackers burn somewhere between 3,000 and 5,000 calories on a full hiking day, with the specific figure depending heavily on your body weight, pack weight, elevation gain, terrain, and how many hours you’re actually moving. Thru-hikers covering 20 to 30 miles a day can burn considerably more — sometimes 5,000 to 6,000 calories or beyond — reflecting the genuinely different caloric demands of sustained high-mileage hiking versus a moderate weekend trip.
For most three-season backpacking trips at a moderate pace, planning around 2,500 to 3,500 calories per day is a reasonable baseline, scaling upward for big-mileage days, significant elevation gain, or cold-weather trips where your body burns additional calories simply staying warm. If you want a more precise estimate specific to your own body and trip, online calorie calculators that factor in body weight, pack weight, and expected hiking hours can refine this further, though even careful calculation rarely matches trail reality exactly — a phenomenon experienced long-distance hikers commonly call “hiker hunger,” where your body demands more fuel than the math predicted regardless of how carefully you planned.
Translating Calories Into Food Weight
Once you have a target calorie range, the practical planning unit shifts from calories to pounds of food, since that’s what you’re actually carrying and what determines your pack weight day to day. A widely used rule of thumb among experienced backpackers is to target roughly 1.5 to 2.5 pounds of food per person per day, with the specific number depending on trip length, intensity, and season.
The relationship between weight and calories comes down to caloric density — how many calories a given food delivers per ounce of weight. At an average density of around 100 calories per ounce, 1.5 to 1.75 pounds of food per day translates to roughly 2,400 to 2,800 calories — a reasonable baseline for moderate hiking. For high-output days with significant elevation gain or genuinely demanding mileage, you’ll either need more total food weight or, more efficiently, food with a higher caloric density to hit 3,500-plus calories without a proportional increase in pack weight.
This is why experienced backpackers talk consistently about “calorie per ounce” or “energy-to-weight ratio” rather than just raw food weight — the goal isn’t simply carrying more food, it’s carrying food that delivers more usable energy for the same amount of weight and pack space.
Choosing High-Density Foods
The single most effective lever for keeping your food bag light while still meeting real caloric needs is prioritizing foods with high calorie density — aim for at least 100 calories per ounce as a baseline, with 125 calories per ounce or higher being genuinely excellent.
Nuts and nut butters deliver roughly 160 to 200 calories per ounce, among the densest options available in a genuinely portable, non-perishable form. Hard cheese and cured meats like salami run 120 to 150 calories per ounce and last multiple days on trail without refrigeration, provided you’re not hiking in genuinely hot conditions where they can spoil or become unappetizing. Olive oil, added directly into cooked meals rather than eaten on its own, is one of the densest options available at roughly 250 calories per ounce — a small squeeze bottle carried specifically to boost the calorie count of an otherwise moderate dinner is a genuinely efficient way to close a caloric gap without adding meaningful weight.
Dried fruit provides useful carbohydrate density alongside genuine digestive benefits on longer trips — prunes specifically are a favorite among experienced backpackers for managing the digestive slowdown that trail food and reduced fiber intake can cause. Corn chips and similar snack foods, while less obviously “backpacking food” than dehydrated meals, deliver surprisingly strong caloric density (roughly 160 calories per ounce) and can even be crushed and mixed directly into a rehydrated dinner as both a calorie boost and a textural addition.
The overarching principle: every ounce in your food bag should be working as hard as possible. Low-density foods — fresh fruit, most vegetables, anything with high water content — are genuinely nutritious but deliver comparatively little energy per unit of pack weight, making them a poor fit for anything beyond the first day of a trip when you might carry a small amount before it’s eaten or spoils.
Structuring Your Trail Day
Breakfast
Breakfast on trail faces two competing demands that don’t always align neatly: it needs to be genuinely fast, since you generally want to be moving rather than spending significant time cooking first thing, and it needs to deliver real calories, since you’re about to hike for potentially six to ten hours on whatever fuel you start the day with.
A common approach on days where you want a fast exit is a simple combination of a calorie-dense bar and a handful of nuts — minimal preparation, no cooking required, and enough density to genuinely fuel the first stretch of hiking. On days where a slower morning is acceptable, a hot breakfast — oatmeal, a warm grain-based meal, or coffee alongside a more substantial cooked option — provides both calories and the genuine morale benefit of a warm meal to start the day, particularly in cold or wet conditions where a hot breakfast meaningfully improves how the whole day feels.
Lunch and On-Trail Snacking
Rather than treating lunch as a single dedicated stop, many experienced backpackers structure midday eating as continuous grazing throughout active hiking hours — a strategy that keeps energy more level than a single large meal followed by hours without eating. Snacking every hour or two, rather than waiting for a designated lunch break, helps maintain steady energy output across a long hiking day.
Keeping a few snacks accessible in a hip belt pocket, rather than buried in the main pack, removes the friction of stopping and unpacking every time you want to eat — a small logistical detail that genuinely affects whether you actually snack consistently or end up under-eating simply because accessing food is inconvenient. In hot weather, avoid snacks prone to melting — chocolate-coated bars in particular become a genuine mess in warm conditions — and favor options that hold up regardless of temperature.
Tortilla or bagel sandwiches built around hard meats and cheeses are a reliable trail lunch staple specifically because both the bread component and the fillings hold up well over multiple days without refrigeration, while still delivering dense, satisfying calories. These are less ideal specifically in genuinely hot weather, where the meat and cheese components become more of a food safety concern.
Dinner
Dinner is where most backpackers concentrate their most substantial meal and their only real cooking of the day, and it’s worth treating as both a nutritional priority and a genuine morale boost after a demanding day on trail. Dehydrated and freeze-dried meals — the boil-water-and-wait category — remain the most common choice specifically because of their genuine convenience: minimal preparation, minimal cleanup, and reasonably predictable caloric and nutritional content printed directly on the package.
For backpackers who want more control over ingredients, cost, or specific dietary needs, DIY dehydrated meals prepared at home using a food dehydrator offer an alternative to store-bought options, at the cost of more upfront preparation time before the trip even begins. Many experienced backpackers use a genuine mix of both approaches — DIY meals for some nights, commercial freeze-dried options for others — rather than committing entirely to one method.
Boosting dinner’s calorie density with a small addition of olive oil, powdered whole milk, or a handful of crushed chips or nuts is a simple, low-effort way to close any gap between what a standard dehydrated meal provides and your actual caloric target for the day, particularly on high-output days where your baseline meal alone won’t cover what you’ve burned.
Building a Full Day’s Meal Plan
A practical structure many experienced backpackers use looks roughly like this: a fast bar-and-nuts breakfast on days requiring an early start, continuous snacking throughout the hiking day rather than a single dedicated lunch stop, and a hot dehydrated or freeze-dried dinner with a hot drink to close out the day. This kind of structure, built around roughly 1.5 to 2 pounds of food, can deliver somewhere in the 2,800 to 3,500 calorie range depending on the specific foods chosen — a solid baseline for typical three-season backpacking that scales up with added snacks or denser food choices on higher-output days.
For multi-day trips specifically, plan the full trip’s food at once rather than day by day, accounting for the meals you’ll eat at the trailhead before and after the hike (which don’t need to be carried), and factor in your specific group size if you’re hiking with others. Building in a small buffer of extra food — enough for an additional snack-level amount rather than full extra meals — provides a reasonable safety margin against an unexpectedly extended trip without meaningfully adding to your pack weight.
Practical Packing and Storage Considerations
Repackage everything before you leave home. Remove food from bulky original packaging — cardboard boxes, excess plastic wrapping — and consolidate into resealable bags. This reduces both weight and volume meaningfully across a multi-day food supply, and it has the added benefit of turning that packaging into ready-made trash bags for the trip.
Bring food you already know you like. This sounds obvious, but it’s a genuinely common mistake — bringing untested foods specifically because they seemed like a good backpacking option on paper. If you can’t stomach a particular texture or flavor combination at home, being tired and hungry on trail won’t magically change that, and discovering food aversion mid-trip when your options are limited is a genuinely avoidable problem.
Add variety if you’re prone to food fatigue. Some hikers can eat structurally similar meals every day without issue; others burn out on repetition quickly, particularly on longer trips. If you know you fall into the second category, deliberately varying textures, flavors, and meal types across your trip prevents the specific demoralization of facing a meal you’re already sick of by day three.
Store food properly in bear country. Where required — and increasingly, this means most popular backcountry areas rather than just classic “bear country” — use an approved hard-sided bear canister or a properly executed bear hang, and check current regulations for your specific route before assuming either option is acceptable, since many areas now specifically mandate canisters rather than accepting a hang system as sufficient.
Replace electrolytes, not just calories. Calorie count is only part of the nutritional picture on a demanding trail day — you’re also sweating out meaningful sodium and other electrolytes, and neglecting to replace them can produce a genuinely draining, headachy feeling that creeps in over multiple consecutive hiking days even when your caloric intake looks adequate on paper. A daily electrolyte mix or hydration drink powder is a small, lightweight addition that addresses a real gap plain water and calorie-focused food alone don’t cover.
Final Thoughts
Backpacking meal planning comes down to a genuinely learnable formula: estimate your realistic caloric burn for the trip’s specific demands, translate that into a food weight target using calorie-dense foods rather than just bulk, and structure your eating throughout the day — fast breakfast, continuous snacking, substantial dinner — around how your body actually needs fuel delivered rather than a rigid three-meal structure inherited from life off trail. Get the density and the timing right, and food stops being a source of either bonking or dead weight and becomes exactly what it should be: reliable fuel that keeps you moving and genuinely enjoying the trail rather than fighting through it.
For the gear that carries and cooks this food, check our best hiking cookware guide for stove and pot options across different group sizes, and our multi-day backpacking checklist guide for how food planning fits into your complete kit.