
As an Amazon Associate I earn from qualifying purchases.
Trekking poles only save your knees when you plant them with intent, load them through the strap, and change their length with the terrain, yet most hikers carry them too long, grip too tightly, and tap beside their feet where poles do almost no work. This guide gives you the full procedure in order, from height setting to downhill braking, traverses, crossings, and rock steps.
Choose Poles That Fit Your Hands, Height and Terrain
Technique works best on poles that adjust cleanly and fit your grip, so start with the right pair.
Key Takeaways
- Set pole height first so your elbow bends near ninety degrees, then shorten for climbs and lengthen for descents before the slope steepens.
- Thread your hand up through the strap from below, so the strap carries the load and your fingers stay loose.
- Plant the opposite pole with each step, pushing down and back through the strap instead of tapping beside your foot.
- Lengthen both poles before a descent and plant them ahead of your feet, braking early so your arms share the work.
- Practise on easy ground first, adding climbs, descents, traverses and crossings only when the rhythm feels automatic.
Table of Contents
- Set Your Pole Height First
- Use the Wrist Strap and Grip Correctly
- Find Your Walking Rhythm on Flat Ground
- Climb With Shorter Poles and a Forward Drive
- Descend With Longer Poles and Early Braking
- Traverse Slopes Without Fighting the Hillside
- Cross Streams and Rivers With Three Points of Contact
- Handle Stairs, Rock Steps and Steep Drops
- Balance Help Versus Knee Relief: Use Poles With Intent
- Avoid the Mistakes That Cancel the Benefit
- Build Skill With a Simple Practice Progression
- Frequently Asked Questions
- Sources
- Recommended
Set Your Pole Height First
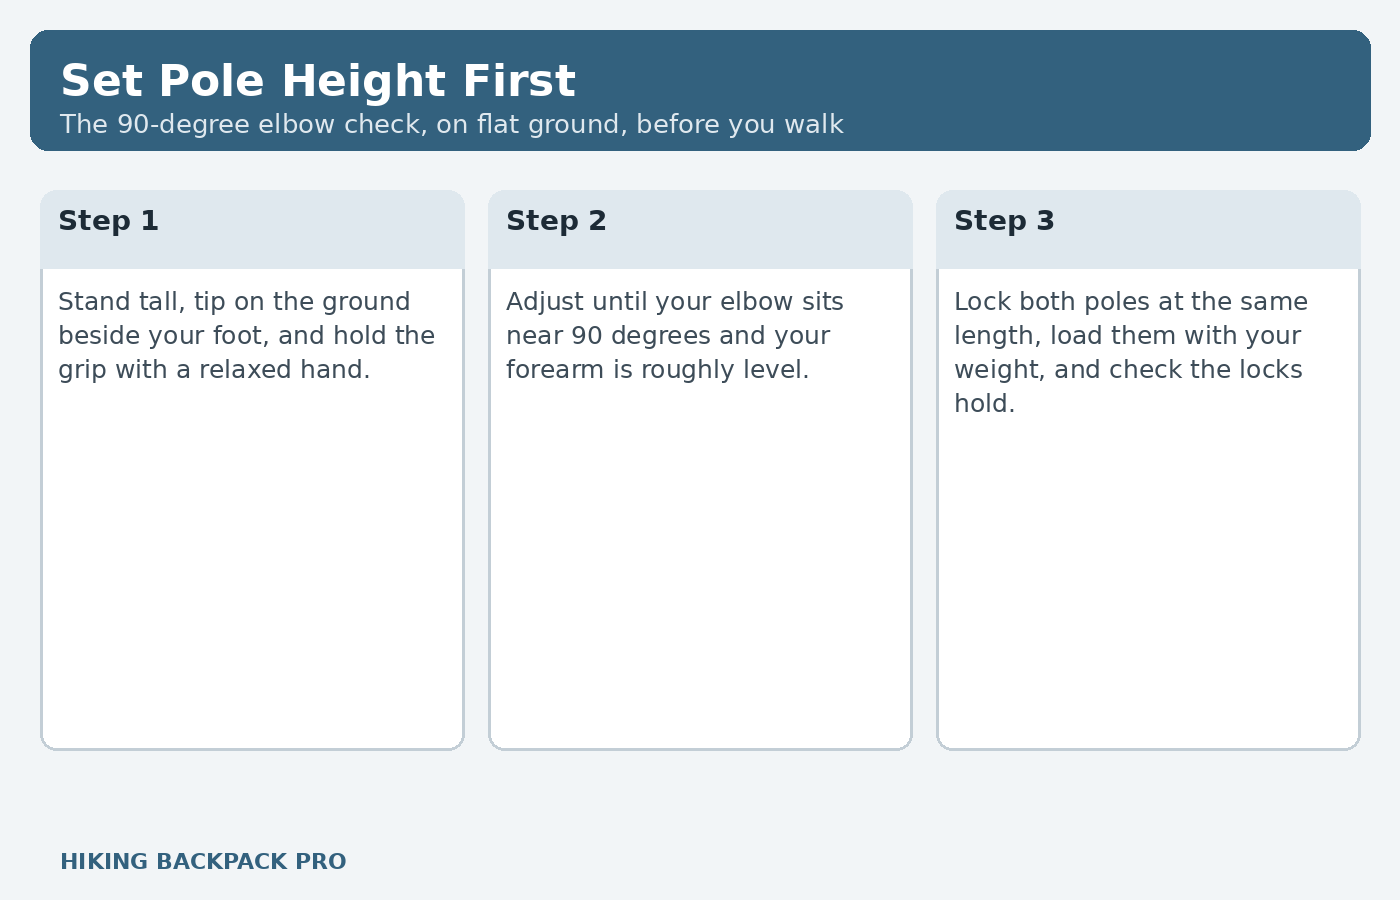
Start with the elbow test, every time. Stand in your hiking shoes on flat ground, tip beside your foot, and adjust until your forearm sits level and your elbow bends near ninety degrees. The REI Expert Advice guide uses that right-angle check as the baseline for general hiking. Fine-tune by feel, because arm length, posture, and pack load vary. (Note: in the HTML I am giving you, this REI link’s href begins “https://www.rei.com” in lowercase — use that exact lowercase form.)
Use height only as a first estimate. The LEKI length guide offers a starting figure of height in centimetres multiplied by 0.68, confirmed by the elbow test. Adjust both sections of a three-section pole evenly, never running one to its stop mark. Note the printed number, copy it to the second pole, and test each lock with a firm push. Shoulders shrugging means too long; stooping means too short. Our guide on how to choose trekking poles covers adjustment range.
A Quick Reference for Terrain Changes
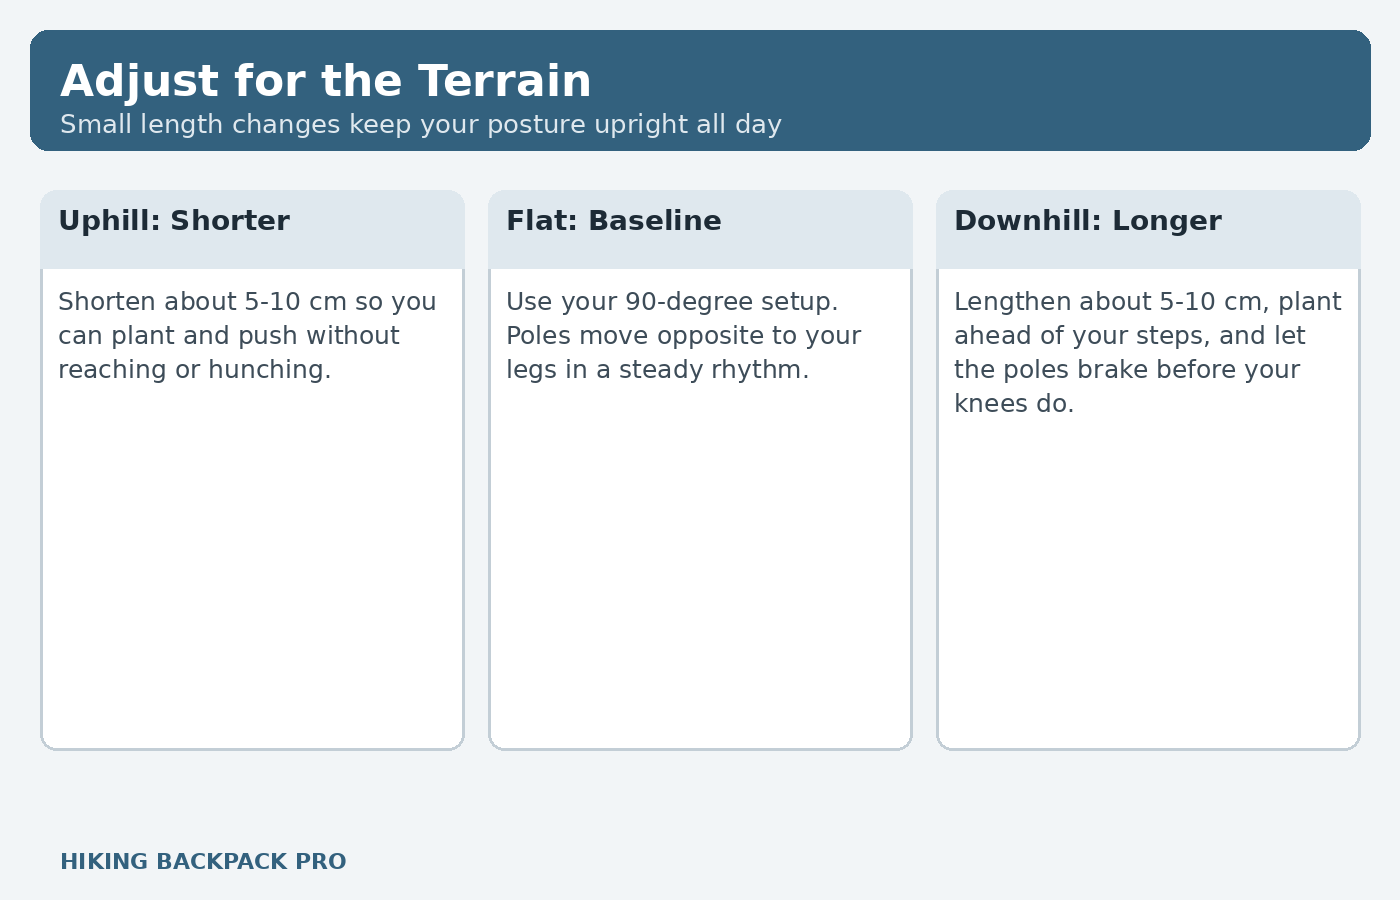
Change length for sustained slopes, not every ripple. A long climb or descent repays thirty seconds of adjustment.
| Terrain | Pole length adjustment | Technique cue |
|---|---|---|
| Flat and rolling trail | Baseline ninety-degree elbow setting | Opposite arm and leg, plant beside the stride |
| Sustained uphill | Shorten about 5–10 cm | Plant ahead, push down and back, stay tall |
| Sustained downhill | Lengthen about 5–10 cm | Plant ahead of feet, brake early, short steps |
| Sidehill traverse | Uphill pole shorter, downhill pole longer | Or choke down on the extended grip uphill |
| Stream crossing | Baseline or slightly longer | Three points of contact, move one point at a time |
| Stairs and rock steps | Slightly longer on descent, baseline on ascent | Double plant, then step; keep poles ahead |
Use the Wrist Strap and Grip Correctly
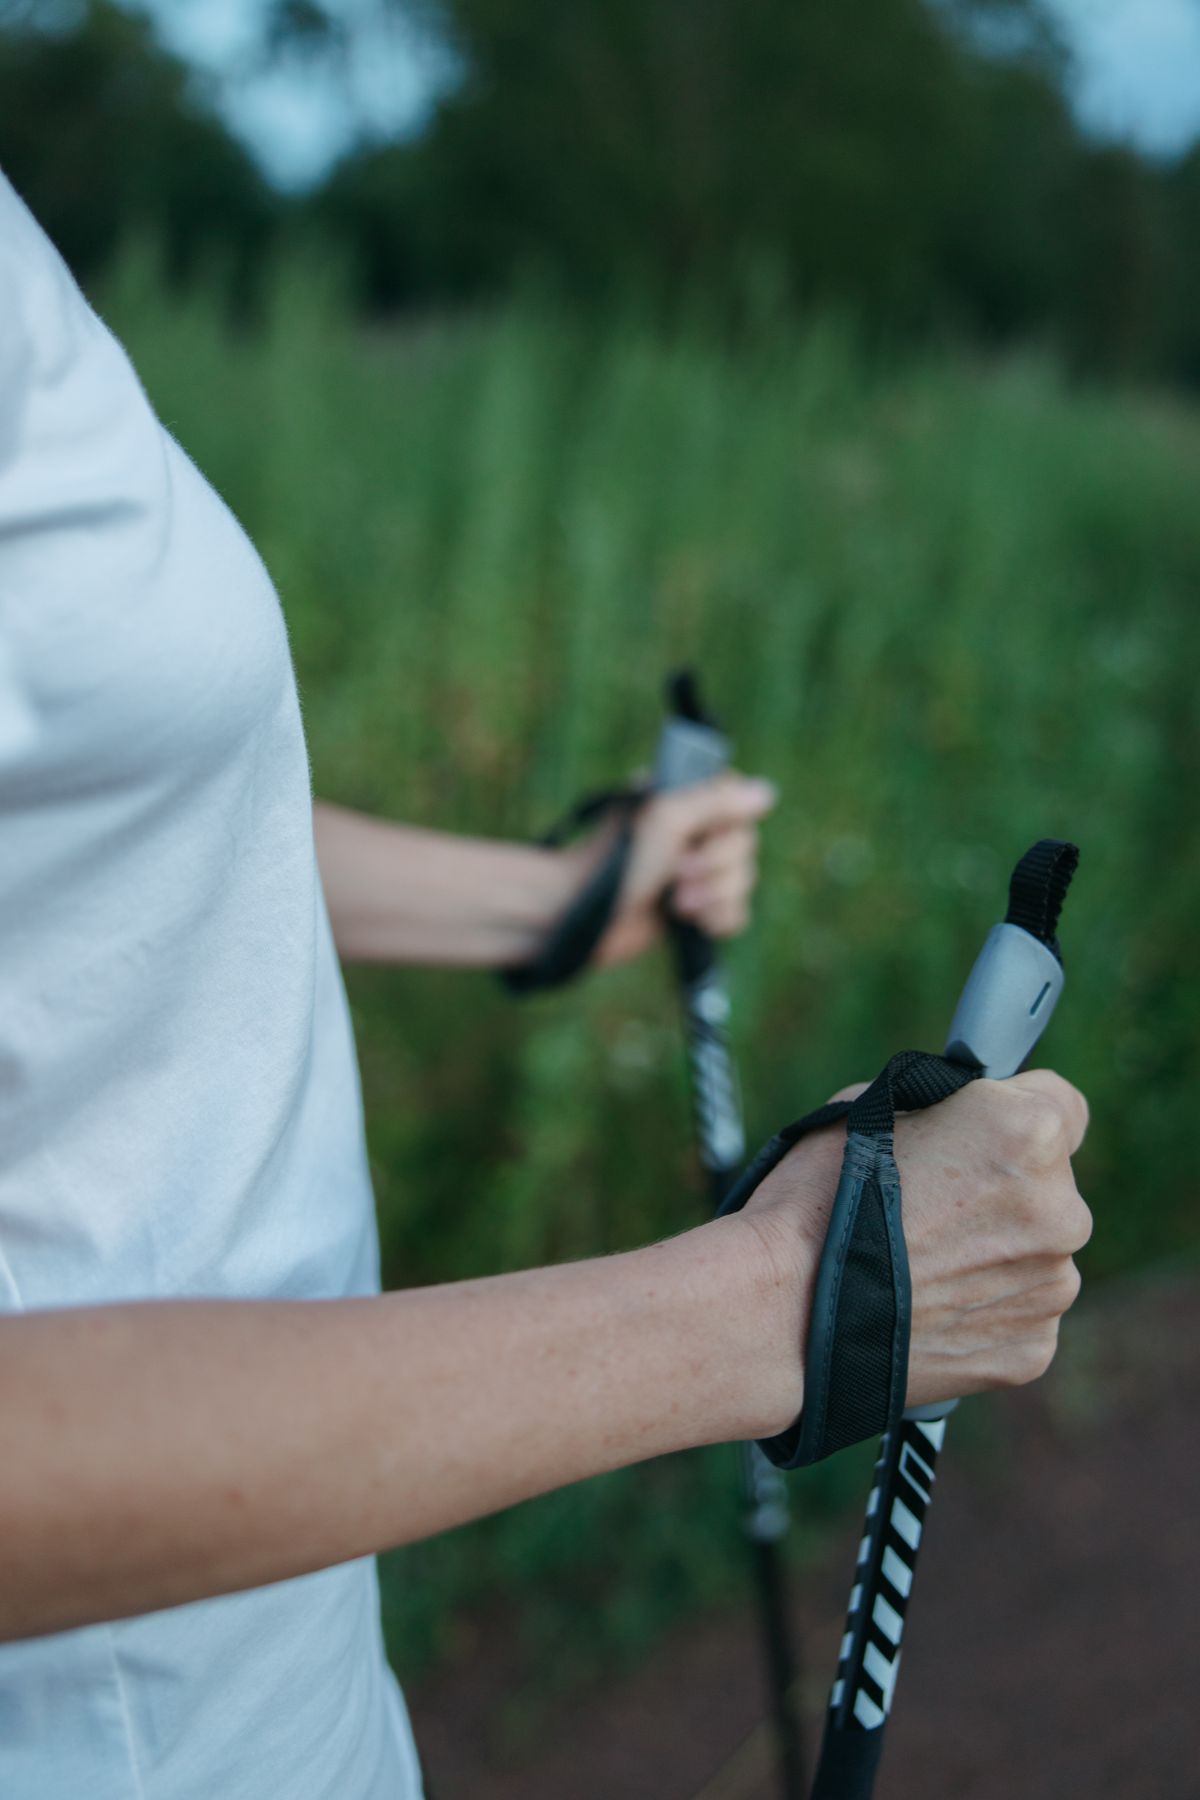
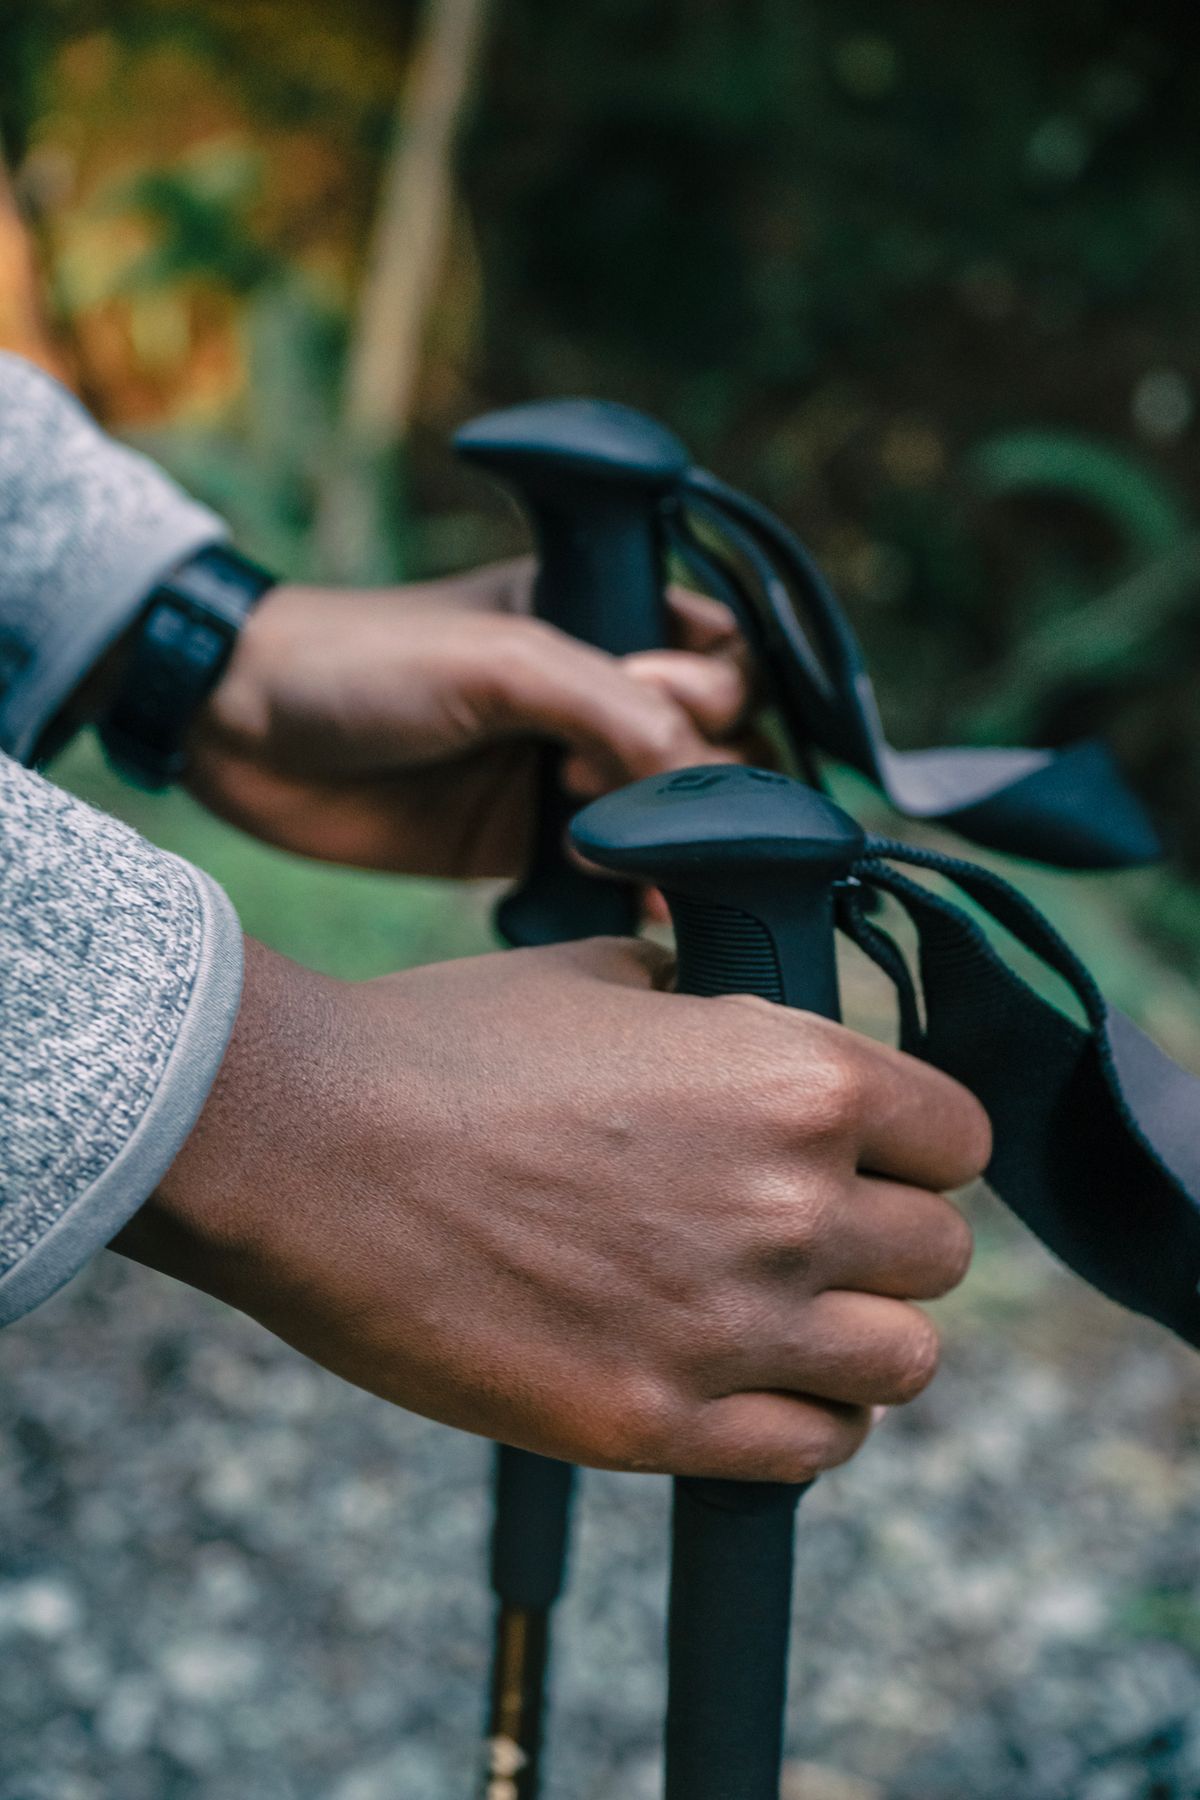
The strap is a load-bearing part, not a lanyard. Slide your hand up through the loop from below, then settle your palm onto the grip so the strap runs across the back of your hand. Tighten it until snug and supportive, never tight enough to restrict circulation. You can then open your fingers slightly at the back of each swing, closing them lightly as you plant.
Let the strap do the work. The American Hiking Society notes that poles let upper-body muscles share work normally done by the legs, and that sharing only happens when force travels through the strap, not a clenched fist. That loose grip prevents forearm fatigue and hand cramping. Grip shapes are compared in our roundup of the best carbon fiber trekking poles for hiking.
Grip Position Changes With the Slope
Stay on the main grip on flat ground and climbs. Keep your wrist neutral and elbow close to your side. On a sharp drop, palm the top of the grip like a cane to lower yourself, then return to the normal grip when the grade eases.

Cascade Mountain Tech Trekking Poles
- Exceptional Quality and Comfort – Crafted from aircraft-grade 6061 aluminum, each 10-ounce trekking pole is highly durable in all conditions.
- Quick Lock Mechanism – Designed with rugged terrain in mind. Easily adjust your trekking poles from 26”- 54” without breaking your stride.
- Cork Grip with Extended EVA Down Grip – Ergonomic cork grip helps reduce vibration from uneven terrain. Extended EVA down grip provides additional hand placement options for steep climbs and varied trail conditions.
New starting from: 29.99 $
Go to AmazonFind Your Walking Rhythm on Flat Ground
Learn the opposite arm and leg pattern first. Step with your right foot as your left pole plants, then with your left foot as your right pole plants, as your arms swing naturally. If the pattern feels tangled, exaggerate your natural arm swing and let the tips follow your hands. Keep plants compact and close to your line of travel, a point the UIAA recommendation makes directly when it advises using sticks as close as possible to the body’s line of fall.
Plant, push, and lift in one quiet cycle. Set the tip beside or just ahead of the opposite foot, push down and back as your body passes over it, then lift and swing forward. Dragging tips waste energy and catch on roots, while planting far ahead tires your shoulders. Practise first on an easy loop from your day hiking essentials checklist walk.
What Good Rhythm Feels Like
Your breathing and stride should stay unhurried. A small rise in effort is normal, but shoulder tension means you are muscling the poles instead of timing them. Slow down until the pattern settles, then rebuild speed.
Climb With Shorter Poles and a Forward Drive
Shorten before the climb, not halfway up it. At the base of a sustained grade, take five to ten centimetres off each pole. Shorter poles let you plant without lifting hands to chest height, keeping shoulders down. Field research in Howatson et al. found lower perceived exertion during the ascent when hikers used poles on a full mountain day, alongside less muscle soreness afterwards.
Follow this uphill sequence. First, plant both poles ahead, tips firm in the tread. Second, lean slightly into the slope from the ankles, back tall. Third, push down and back through the straps as you step up. Fourth, replant as soon as your hands pass your hips, keeping the cycle short on steep ground. On switchbacks, shorten your stride at each turn.
Posture and Pack Load on Climbs
Let the poles correct your posture, not collapse it. Pushing through the straps should hold your head up, not fold you over the grips. A pack that pulls you backward needs fixing first with our guide on how to fit a hiking backpack to your torso length.
Descend With Longer Poles and Early Braking
Lengthen before the descent and plant before you step. Add about five to ten centimetres at the top, then plant each pole ahead of your feet before committing weight. The pole brakes first; your knee lowers you second. That order, pole first and foot second, is the most important knee-saving habit in this guide, and the core technique behind our guide to the best trekking poles for knee pain on downhill hikes.
Understand what the research actually shows. In the downhill study by Schwameder et al., several knee measures, including ground reaction force, knee joint moment, and tibiofemoral compressive and shear forces, were lower with poles, with significant reductions reported across a range of about twelve to twenty-five percent on a steep ramp. Other measures there, including patellofemoral force, varied too much to reach significance, so treat any single percentage as study-specific, not a promise.
The Downhill Sequence, Step by Step
Work through the descent in this order. First, lengthen both poles and test the locks. Second, shorten your stride before the steepest section. Third, plant one pole ahead and load it through the strap. Fourth, step down onto a flat, full foot. Fifth, plant the second pole and repeat, keeping one pole loaded whenever a foot moves. On steep or loose pitches, double-plant both poles, load them together, then take small steps down to them.
Carrying a load does not cancel the benefit. Bohne and Abendroth-Smith tested downhill hiking with no pack, a day pack, and a heavier pack, finding significant reductions in joint moments at ankle, knee, and hip across all three.

LEKI Khumbu Lite AS Trekking Poles
- Your Wrists Will Thank You | Lightweight, adjustable trekking poles equipped with antishock units for 40% reduced impact on joints and tendons.
- 100-135 cm Adjustable | Dual Speed Lock Plus switches maximize adjustability and pack down as short as 26.7 inches.
- All Aluminum | Robust aluminum construction keeps a surprisingly light weight, barely exceeding half a pound.
List Price :
Offer: 149.94 $
Go to AmazonTraverse Slopes Without Fighting the Hillside
Solve the sidehill problem with unequal lengths. On a traverse, uphill ground sits higher, so equal poles force one shoulder up and the other down. Shorten the uphill pole and lengthen the downhill pole, or choke down onto its extended grip. Both methods level your shoulders without leaning into the slope. Our overview of the best hiking poles shows which models offer extended grips.
Plant the downhill pole with extra care. It carries more of your balance, so set it deliberately, load it gradually, and never stab it into loose edge material. Keep steps short, feet flat, and let your ankles absorb the hillside angle.
Crossing Slippery and Loose Sidehills
Test every plant before you trust it. On wet roots, mud, or loose gravel over hardpan, tap the tip in, apply partial weight, and commit only once it holds. A skating pole is information, not support. On scrambling terrain, collapse the poles and secure them to your pack, as with the quick-stowing designs in our guide to the best collapsible hiking poles for women.
Cross Streams and Rivers With Three Points of Contact
Treat every ford as a balance problem first. Scout for the widest, shallowest line, and unbuckle your pack’s hip belt so you can shed it if you fall. The National Park Service stresses assessing the water’s force first, never crossing above rapids or falls, and choosing another route whenever in doubt.
Cross with this sequence. First, remove your hands from the straps. Second, face slightly upstream and plant both poles upstream, where the current presses them into the bed. Third, shuffle sideways, sliding each foot along the bottom. Fourth, move only one contact point at a time, so three points always stay planted. Fifth, probe ahead before each step for holes and slick boulders.
Reading the Water Before You Enter
Depth multiplied by speed is the real hazard. Shallow fast water can knock you down more easily than deeper slow water. If you cannot see the bottom or hold a pole steady against the current, do not cross. Keep footwear on, and plan with the same care dog owners give the best dog life jackets for water crossings.
Handle Stairs, Rock Steps and Steep Drops
Use a double plant for tall steps down. Plant both poles on the lower level, load them through the straps or with palms over the grip tops, then lower one foot, then the other, never hopping. Hopping concentrates the landing force in one knee; the double plant lets your arms absorb part of it first. The findings in Cho and Roh fit this logic, because that downhill study found markers of muscle and cartilage stress rose less after walking when a pole was used.
Climb steps with a plant, push, and step rhythm. Plant both poles on the step above, push down as you rise, and keep your torso tall. On long staircases, use the same rhythm as the uphill slope.
Built Steps, Water Bars and Erosion Berms
Slow down for the awkward middle heights. Trouble rarely comes from the tallest steps, but from knee-height drops and angled water bars that invite a casual stride. Plant a pole on the far side, confirm it holds, and step over deliberately. Pair that care with our guide on how to prevent and treat blisters while hiking. On narrow stairs, lift poles vertical rather than planting across another hiker’s line.
Balance Help Versus Knee Relief: Use Poles With Intent
Decide what each plant is for. A light, quick plant is a balance touch, useful where a stumble is the main risk. A firm plant loaded hard through the strap is a load-sharing plant, for descents, step-downs, and climbs. Confusing the two is why many hikers conclude poles do nothing for their knees.
The evidence separates the two jobs clearly. A broad synthesis in the poles in sports review found upper-body muscles work harder with poles while lower-body muscles were less active or unchanged, exactly the trade load sharing intends. Poles can also raise cardiovascular demand, so the technique trades leg load for whole-body effort. For knee relief, use the pair: a single staff leaves one knee working alone.
Avoid the Mistakes That Cancel the Benefit
Mistake one: one length all day. An unchanged baseline on a long descent plants tips too close to your feet, forcing a stoop and shifting load back into your knees. Adjust at major slopes until it becomes automatic. If a lock slips, stop and fix it following the LEKI Speed Lock guide, rather than hiking on a collapsing pole.
Mistake two: hands through the strap from above. Coming down through the loop leaves the strap twisted and unsupported, and raises the risk of a wrist injury in a fall. Relearn the up-through method at home. Its cousin, the death grip, exhausts your forearms, so open your fingers at the back of each swing. Mistake three is planting beside your feet on descents, where a tip cannot brake anything.
Mistakes of Placement and Trail Care
Mistake four: dragging, stabbing, and leaning without testing. Load every plant gradually, because a tip on a loose rock will move. The guidance in AMC Leave No Trace asks hikers to use rubber tips where possible, place poles carefully inside the tread, and avoid tearing up soft soil and trailside vegetation. Fit rubber tips on hard rock and pavement, keep carbide tips for dirt and ice, and lift between plants.

TREKOLOGY Trekking Pole Tips and Baskets Set
- High Quality and Durable: Made of top-quality rubber material with metal washers, TREKOLOGY walking pole tip pack is designed for long-lasting durability and wear prevention.
- Standard Size: The universal size fits most brands of trekking poles and helps to prolong the life of metal trekking pole tips, making it a great accessory set for all types of hikers and trekkers.
- Adds Extra Grip: With superior traction, the rubber tips provide excellent grip on all surfaces, including pavement, concrete, wooden floors, and rocky terrain, ensuring smooth hiking and walking experiences.
New starting from: 12.99 $
Go to AmazonBuild Skill With a Simple Practice Progression
Stage one: flat ground, ten minutes at a time. Walk an easy, familiar loop with baseline length, correct straps, and the alternating rhythm as your only goals. Stop and reset whenever the pattern breaks down. Familiar ground removes navigation from the learning load.
Stage two: add one climb and one descent. On a short, familiar hill, shorten at the base, climb with the push-through sequence, then lengthen at the top and descend with plants ahead of your feet. Repeat the same hill until both techniques feel like one routine. A short phone video reveals stooping and overreaching you cannot feel, so correct one fault per outing: height, strap, rhythm, then descent braking.
Stage Three: Add the Special Cases One at a Time
Introduce traverses, steps, and crossings separately. Practise each on mild ground before you need it on a serious route. Each skill is simple alone, confusing when improvised under fatigue.
Our view
My view is simple: poles are the cheapest knee insurance a hiker owns, but only when technique is deliberate, so learn the sequence here, then match the hardware with our guide on how to choose trekking poles, compare the descent-focused picks in the best trekking poles for knee pain on downhill hikes, and weigh lighter shafts in the best carbon fiber trekking poles for hiking if long days leave your arms as tired as your legs.
— Brian Ka
Frequently Asked Questions
How long should trekking poles be for downhill hiking?
Lengthen each pole by about five to ten centimetres from your baseline, so you can plant ahead of your feet without stooping. If your shoulders shrug, come back shorter.
Do trekking poles really help knees, or just balance?
They can do both, but only load-sharing plants help knees. Downhill research found lower values on several knee load measures when hikers pushed through the poles, while light touches transfer little force. Persistent pain deserves a medical assessment, not more gear.
Should I use wrist straps in river crossings and on scrambles?
No. Remove your hands from the straps before fording and before scrambling. A strap becomes a trap if you fall in current or need to catch yourself on rock. Re-thread them, up through the loop, back on normal trail.
Is one trekking pole enough?
One pole can improve balance on gentle terrain, but it cannot share load evenly or give you the double-plant option on steep descents. For knee relief, climbs, traverses, and crossings, use a matched pair.
How do I stop my poles from damaging the trail?
Fit rubber tips on hard surfaces, keep plants inside the tread, and lift cleanly instead of dragging.
Questions About Trekking Pole Technique?
Tell us where your knees complain most, climbs, descents, or flat miles, and we will help you match length and technique to that terrain.
Sources
- Schwameder et al. — Knee Joint Forces During Downhill Walking With Hiking Poles
- Bohne and Abendroth-Smith — Effects of Hiking Downhill Using Trekking Poles While Carrying External Loads
- Cho and Roh — Trekking Poles Reduce Downhill Walking-Induced Muscle and Cartilage Damage
- Howatson et al. — Trekking Poles Reduce Exercise-Induced Muscle Injury During Mountain Walking
- Saller et al. — A Review of Biomechanical and Physiological Effects of Using Poles in Sports
- REI Expert Advice — Trekking Poles and Hiking Staffs: How to Use
- LEKI — Walking Pole Length Guide: What Size Do I Need?
- LEKI — Speedlocks Explained: Types, Differences and How to Adjust Them
- American Hiking Society — Trekking Poles
- National Park Service — River Crossing, Yukon-Charley Rivers National Preserve
- UIAA Medical Commission — The Use of Hiking Sticks in the Mountains
- Appalachian Mountain Club — Leave No Trace for Trekking Poles