
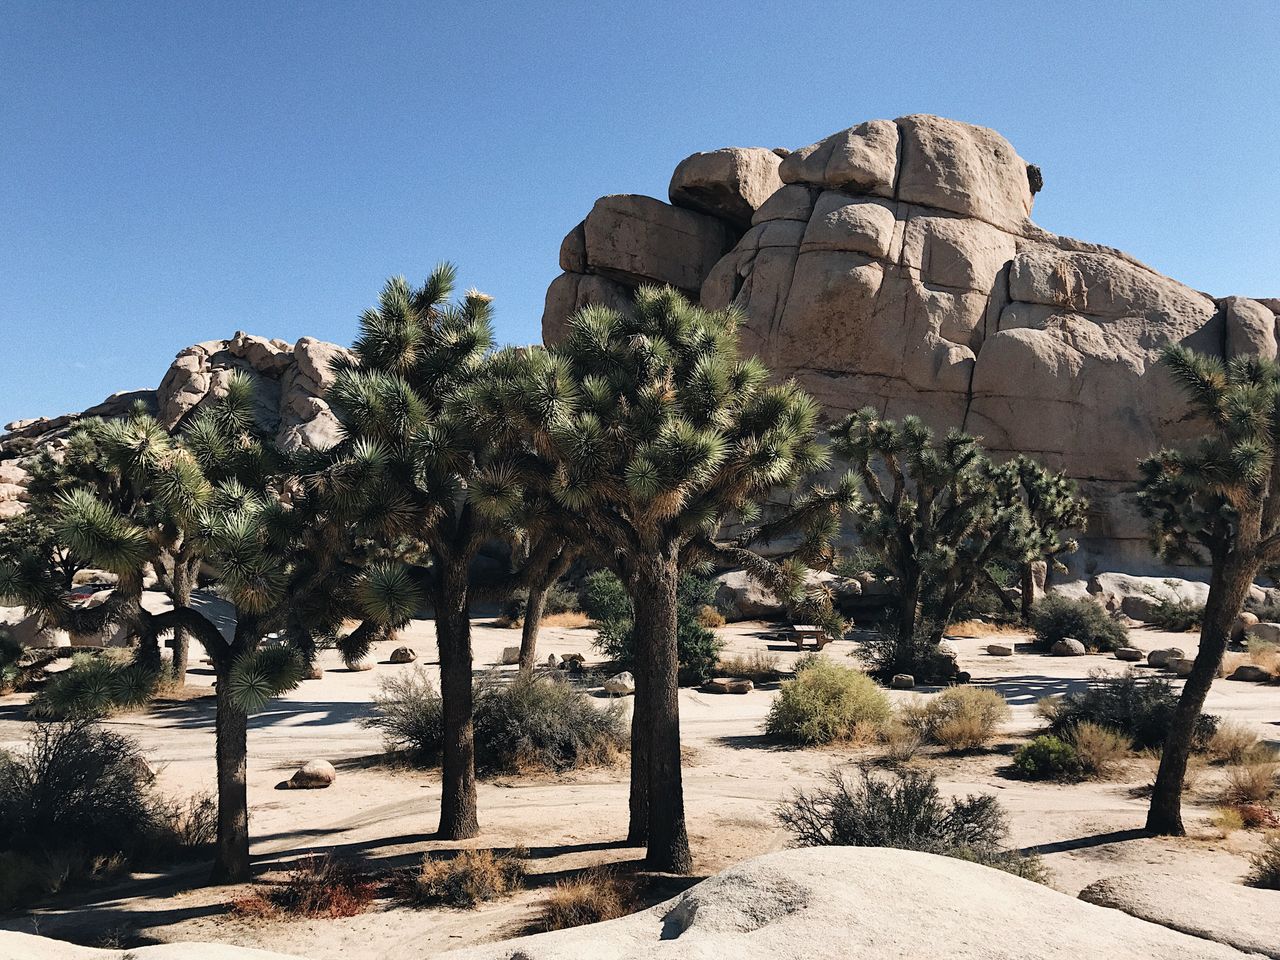
Joshua Tree has a split personality that makes it one of the most rewarding backpacking destinations in Southern California — the Sonoran Desert meets the Mojave Desert here, which is exactly why the park’s namesake trees, giant boulder scrambles, and hidden oases exist in the specific band of elevation where both ecosystems overlap. Most visitors experience Joshua Tree as a day-trip destination: short hikes, iconic rock formations, a sunset at Keys View. But the park’s backcountry — hundreds of square miles of designated wilderness accessed from 13 official trailheads — delivers a genuinely different experience, one built around self-sufficiency, real navigation, and nights under some of the clearest, darkest skies in Southern California.
This guide covers a complete 3-day backpacking itinerary through Joshua Tree, built around the California Riding and Hiking Trail — the park’s signature long-distance route — along with the permit system, water caching strategy, and the practical planning that separates a smooth trip from a genuinely dangerous one in desert terrain.
For gear to prepare for this trip, our how to pack a backpack for hiking guide and best personal water filter for hiking guide cover general essentials — though as this guide explains, water filtration is largely irrelevant here since there’s no reliable natural water to filter.
Before You Go — Essential Planning Information
Entrance fees: $30 per private vehicle, covering 7 consecutive days. The America the Beautiful Annual Pass covers entry for free and pays for itself quickly if you’re visiting multiple parks in a year.
Backcountry permits are mandatory for all overnight stays, cost $6 total per permit (covering a group of 1 to 12 people for up to 14 nights, with a maximum of 3 consecutive nights in any single zone), and can be booked up to 6 months in advance through Recreation.gov, by phone at 1-877-444-6777, or in person at the park headquarters permit office in Twentynine Palms. Same-day permits are available in person until 4pm, but online booking in advance is strongly recommended given how popular backcountry permits have become since the digital system launched in 2023.
No trailhead camping. Camping is only permitted in designated backcountry zones and established campgrounds — never at trailheads, along roadsides, or in day-use areas. For backcountry camping outside the designated Boy Scout Trail corridor (which requires a specific reservable site), you can camp anywhere within your permitted zone as long as you’re at least 1 mile from any trailhead and 500 feet from any trail or water source.
There is no reliable water anywhere in the backcountry. This is the single most important planning fact for any Joshua Tree backpacking trip. Unlike mountain parks with streams and lakes, Joshua Tree’s backcountry has essentially no natural water sources you can count on. You must carry or cache every drop you’ll need for the entire trip.
No fuel, no food, no cell service inside the park. Fill your gas tank in Twentynine Palms or Joshua Tree before entering — there are no gas stations inside park boundaries, and the park is larger than most first-time visitors expect. Cell reception is limited to nonexistent throughout most of the backcountry; download offline trail maps (Gaia GPS or AllTrails both work well) and print or save your permit and reservation information before you lose signal.
Rattlesnakes, scorpions, and cactus spines are the real hazards here — not large predators. Mountain lions exist in the park but have no confirmed attack history; treat that risk as effectively negligible. Rattlesnakes are genuinely present and detected by ground vibration before they detect you in most cases — give them space and let them move on their own. Cholla cactus spines are a much more common and immediate injury risk; carry a comb or pliers for spine removal and give any cholla a wide, deliberate berth.
The Route: California Riding and Hiking Trail (37 Miles, Adapted to 3 Days)
The full California Riding and Hiking Trail runs 37 miles one-way from Black Rock Canyon to the park’s northeast boundary near Twentynine Palms, and it’s the backbone route most experienced Joshua Tree backpackers use for a multi-day trip. Most groups complete it over 2.5 to 3 days depending on pace, water strategy, and how much side-exploration they build in. This itinerary adapts that route into a genuine 3-day structure.
Pre-Trip: Water Caching Strategy
Before starting the hike itself, plan a water caching trip — driving to points along or near the route in advance and stashing water for pickup during the hike. Two cache points work well for this route: one near the Juniper Flats trailhead off Keys View Road (roughly a tenth of a mile in from the trailhead, along the trail itself), and a second at the Twin Tanks parking area further along the route. Placing 4-5 gallons at each cache, tucked into rock crevices and covered with rocks or natural debris to protect from sun and wildlife, gives you a genuine water resupply partway through the trip without carrying the entire multi-day supply from the start.
Vehicle shuttle logistics matter here too — since this is a point-to-point route rather than a loop, you’ll need to leave a car at your finish point (the eastern terminus near Twentynine Palms) before starting from Black Rock Campground, or arrange a pickup.
Day 1: Black Rock Campground to Approximately Mile 13-15
Distance: ~13-15 miles | Difficulty: Moderate, with some elevation gain through switchbacks
Start at Black Rock Campground, where overnighting the night before your hike begins (with a campfire and desert sunset) is a genuinely good way to start the trip fresh rather than driving in and hitting the trail immediately. The first significant push of Day 1 involves climbing through a series of switchbacks toward the Juniper Flats area — several hundred feet of elevation gain that’s the most physically demanding section of the entire route.
Watch for rattlesnakes on this section specifically — multiple experienced hikers report near-misses with snakes on the trail through this stretch, a reminder to watch your footing and stay alert rather than looking exclusively at the scenery. By late afternoon, start looking for a flat, sheltered campsite — natural rock formations that block wind make a meaningful difference in comfort overnight, and you don’t need to reach a specific named landmark before stopping if you find a good spot first.
Day 2: Mile 13-15 to Approximately Mile 28-30
Distance: ~15 miles | Difficulty: Moderate, longest mileage day
This is the longest and most demanding day of the itinerary. Early in the day, you’ll reach your first water cache near Juniper Flats — budget time to transfer cached water into your pack and take a genuine break here before continuing. The trail passes near Ryan Campground roughly midway through the morning, a reasonable spot for an extended rest stop; if you’re carrying any trash from the first two days, this is a good point to consolidate and prepare to pack it out properly.
The middle section of Day 2 crosses Geology Tour Road roughly two-thirds of the way through the day’s mileage, continuing through open desert terrain toward your second water cache near Twin Tanks, where you’ll camp for the night. Heat management is critical on this day specifically — even in cooler months, direct desert sun combined with sustained mileage produces real heat stress, and multiple experienced hikers report temperatures feeling significantly hotter than the actual thermometer reading given sun exposure and exertion. Electrolytes or salt tablets matter as much as water intake here — drinking water alone without replacing lost sodium means your body won’t retain what you’re drinking.
Day 3: Mile 28-30 to the Eastern Terminus
Distance: ~7 miles | Difficulty: Easy, net downhill
The final day is the easiest by a wide margin — roughly 7 miles with a net elevation loss of about 1,000 feet, finishing at the trail’s eastern terminus where your shuttle vehicle or arranged pickup should be waiting. Budget a relaxed morning rather than rushing; this is the day to actually enjoy the final desert scenery rather than pushing hard, since the physical demands of the trip are largely behind you.
Alternative Approach: Solo Backcountry Camping Without the Full Trail
For backpackers who want a genuine backcountry experience without committing to the full 37-mile point-to-point route, Joshua Tree’s 13 backcountry trailheads each provide independent access to at-large camping within their designated zones. This is a fundamentally different trip style — shorter, more exploratory, and well suited to a single overnight or a flexible multi-night stay without the point-to-point shuttle logistics the full CRHT requires.
Register your vehicle at your chosen trailhead (free, using the self-registration process at the trailhead), then hike in at least a mile and set up camp at least 500 feet from any trail or water source. This approach works particularly well for backpackers who want to explore a specific zone in depth — Black Rock, Juniper Flats, the Maze, or Eagle Mountains all offer genuinely distinct terrain character, from the higher, cooler elevations of Black Rock and Juniper Flats to the rugged, remote lower-elevation terrain of the Eagle Mountains zone near Lost Palms Oasis.
A genuine safety note on solo backpacking here specifically: the desert terrain in Joshua Tree looks remote and feels remote in a way that’s different from forested backcountry — long sightlines, minimal shade, and genuinely limited water mean mistakes compound faster than in more forgiving terrain. If you’re backpacking solo for the first time, this park rewards extra caution: tell someone your specific route and return date, carry more water margin than you think you need, and be honest with yourself about your navigation skills before committing to an unmarked or lightly-used route.
Heat Management — The Defining Challenge of Desert Backpacking
Heat is the single greatest risk on any Joshua Tree backpacking trip, and it’s worth treating with the same seriousness as altitude sickness in a mountain park.
Carry more water than feels reasonable. Two gallons per person per day is a realistic baseline for warm-weather backpacking here, and that’s before accounting for the caching strategy that supplements a full multi-day carry. Even in what feels like moderate conditions — mid-70s on a thermometer — direct sun exposure during sustained hiking effort can produce heat stress that catches unprepared hikers off guard.
Electrolytes and salt intake matter as much as water volume. Drinking large amounts of plain water without replacing sodium lost through sweat means your body can’t actually retain the fluid you’re drinking — you’ll process it straight through rather than rehydrating effectively. Carry electrolyte tablets or a salt supplement specifically for multi-day desert hiking.
Protect your skin and head directly, not just through sunscreen. Long sleeves, a wide-brim hat, and sunglasses reduce the cumulative sun exposure that sunscreen alone doesn’t fully address over multiple consecutive days outdoors.
Consider night hiking during genuinely hot periods. A headlamp with a red-light mode preserves night vision while still lighting the trail, and hiking during a full moon in warm months is both cooler and, according to experienced desert hikers, a genuinely surreal and memorable experience — with the added benefit of having trails almost entirely to yourself.
Take posted warnings seriously. Interpretive signage throughout the park documents actual heat-related deaths on specific trails — this isn’t hypothetical risk. If conditions feel too extreme, the right call is to cut the trip short or delay rather than push through.
Best Season for This Itinerary
Peak season for backpacking is October through May, when daytime temperatures are manageable for sustained multi-day effort. Outside that window, summer heat makes multi-day backpacking here genuinely dangerous rather than just uncomfortable.
Late February through April brings wildflower season in years with adequate winter rain — a beautiful but significantly more crowded time to visit, since wildflower displays draw substantial day-trip traffic from Los Angeles that can affect trailhead parking even though it has less impact on backcountry solitude.
Winter nights get cold, sometimes below freezing, particularly at the higher elevations found in the Black Rock and Juniper Flats zones (4,000-5,600 feet). Pack a genuinely warm sleep system if backpacking between November and March — desert daytime heat and desert nighttime cold are both real, sometimes within the same 24-hour period.
What to Pack Beyond the Standard Kit
A minimum of 2 gallons of water per person per day, supplemented by a pre-placed cache strategy for routes longer than an overnight.
Electrolyte tablets or salt supplements, genuinely essential rather than optional for multi-day desert heat management.
A GPS device or offline trail maps downloaded in advance — cell service is unreliable to nonexistent throughout the backcountry, and while many trails are well-marked, unofficial “use trails” and wash crossings can create genuine navigation ambiguity. A physical paper map (the National Geographic Joshua Tree map is a commonly recommended option) is worth carrying as a non-electronic backup.
A satellite communicator for solo or remote backpacking specifically — with no cell service and genuinely remote terrain in several zones, a device like a Garmin inReach provides two-way communication and SOS capability that a phone alone cannot.
Footwear with real protection rather than trail runners alone — the terrain mixes loose sand, sharp rock, and cactus debris, and a hiking boot or trail-runner hybrid with a higher cuff to keep sand out performs meaningfully better here than a low-cut shoe. Our best hiking boots for men and best hiking boots for women guides cover options with the ankle protection this terrain rewards.
A comb or small pliers for cactus spine removal, and gloves if you’re handling any cholla-adjacent terrain during camp setup.
Trash bags for pack-out, including a dedicated one for used toilet paper and hygiene waste — nothing decomposes quickly in desert conditions, and Leave No Trace matters enormously in this fragile ecosystem.
Final Thoughts
Joshua Tree’s backcountry delivers a genuinely different experience from the park’s famous day-hike attractions — real self-sufficiency, extended solitude, and desert scenery that unfolds differently over multiple consecutive days than it does from a car window. The California Riding and Hiking Trail’s 37-mile length adapts well to a 3-day structure with proper water caching, and the park’s 13 independent trailheads offer a genuinely flexible alternative for backpackers who want a shorter, more exploratory backcountry trip instead.
The margin for error here is real — no natural water, limited cell service, and heat that has genuinely killed unprepared hikers. Respect that margin with proper water caching or carrying capacity, honest navigation preparation, and conservative heat management, and this becomes one of the most rewarding and distinctive backpacking destinations in Southern California.
For more Southern California hiking guides, check our best hikes in Santa Clarita Valley and Alder Creek Cave and Chumash Pictographs guides for more Southern California backcountry destinations.