
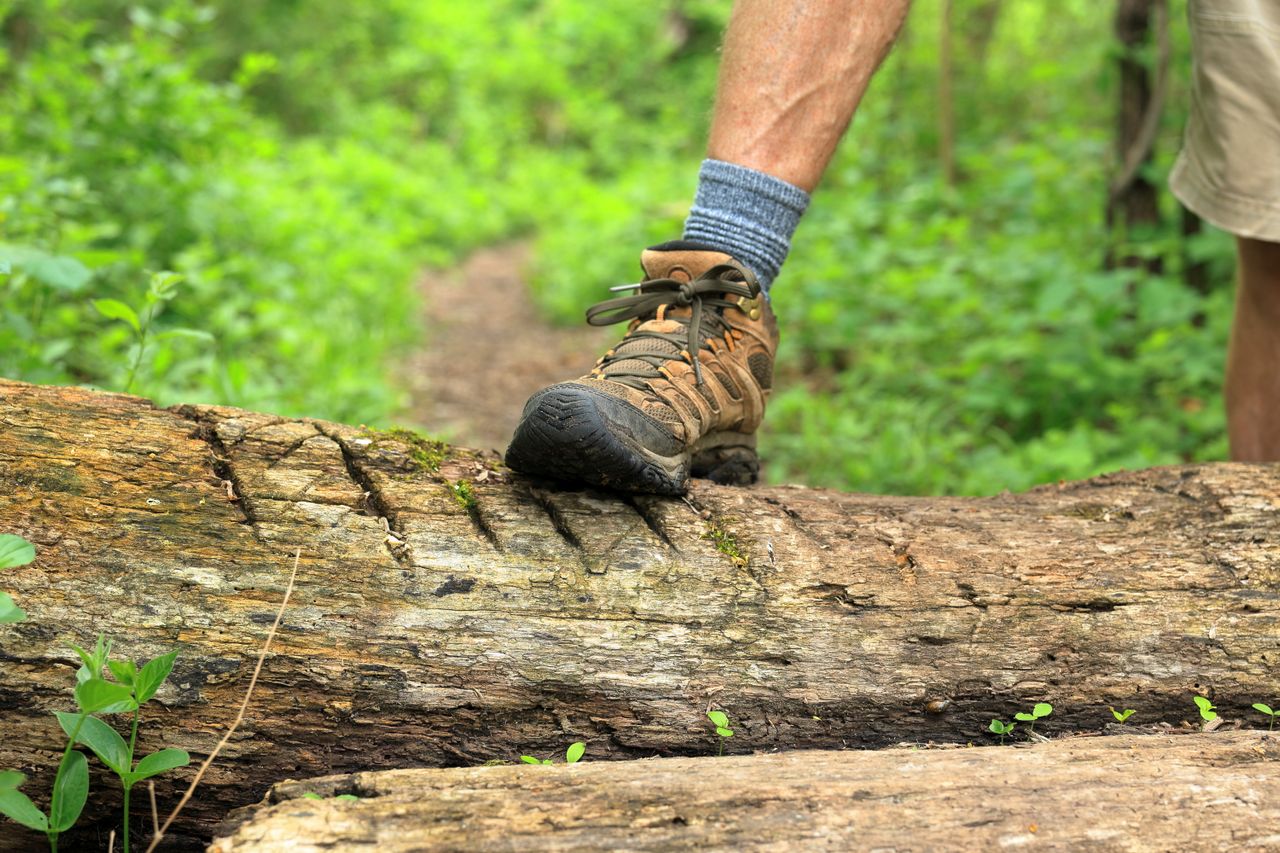
Good grounding. Here’s the full post:
How to Choose the Right Hiking Boots (Fit, Support, Terrain)
Every hiking boot claims to be the right choice for everyone, and none of them actually is. The boot that’s perfect for a lightweight day hiker covering groomed trails is genuinely the wrong choice for someone carrying a 40-pound pack across loose scree, and the boot built for off-trail mountaineering is real overkill for someone walking flat, well-maintained paths a few miles at a time. The right hiking boot decision isn’t about finding the single best model on the market — it’s about matching three specific variables to your actual hiking: how much weight you’ll carry, how technical your terrain is, and whether the boot genuinely fits your specific foot.
This guide covers exactly how to work through that decision — the real differences between boot categories, what fit actually means beyond shoe size, and how to translate all of it into a choice that suits your specific hiking rather than someone else’s.
For the socks and insoles that work alongside a properly fitted boot, our best hiking socks and best boot insoles for hiking guides cover the rest of the system that determines how your feet actually feel on trail.
Start With Load and Terrain, Not the Boot
Before comparing any specific models, answer two questions honestly about how you actually hike, since these two factors do more to determine the right boot category than any other spec.
How much weight will you actually be carrying? A day pack with water and a light jacket places genuinely different demands on a boot than a 40-pound multi-day backpacking load. Heavier loads increase the torque and stress transmitted through your ankles and feet with every step, which is exactly why heavier packs call for more structural support than a boot built for light day-hiking can provide.
How technical is your typical terrain? Groomed, well-maintained trails place minimal demand on a boot’s structure. Loose scree, off-trail scrambling, and mountainous terrain with significant elevation change genuinely require more torsional rigidity — the boot’s resistance to twisting side to side — to protect your ankles from rolling on uneven ground and to reduce the foot fatigue that comes from a sole flexing excessively underfoot.
These two factors together point toward one of three broad boot categories, and understanding which category actually matches your hiking prevents both underbuying (a boot that can’t handle your real demands) and overbuying (paying for support and weight you don’t need).
The Three Boot Categories
Lightweight hiking boots are built for day hikes on moderate terrain without a heavy pack. These prioritize low weight and quick break-in over maximum structural support, and they’re the right choice for the large majority of casual and moderate hikers whose trips don’t involve serious elevation, technical scrambling, or multi-day loads.
Mid-duty hiking boots step up in support and durability, suited to longer day hikes, moderate backpacking loads, and terrain with more elevation change or looser footing. This is genuinely the most versatile category for hikers who do a mix of trip types rather than consistently sticking to one extreme.
Backpacking and mountaineering boots provide the most support, the stiffest soles, and the greatest torsional rigidity, built specifically for hikers carrying heavy multi-day loads or spending significant time off-trail in mountainous terrain. This category delivers the best foot and ankle protection available, but it comes with real weight and break-in tradeoffs that make it genuine overkill for lighter hiking.
The practical guidance here is straightforward: match the category to your actual typical trip, not your most ambitious hypothetical one. A hiker who occasionally does a demanding trip doesn’t necessarily need to buy the heaviest category as their everyday boot — it’s often more practical to own a lighter primary boot and rent or borrow something more supportive for the rare exceptional trip, rather than carrying unnecessary weight and stiffness on every single hike in between.
Understanding Boot Weight
Boot weight correlates directly with the category discussion above, and it’s worth understanding the rough breakpoints since manufacturers rarely organize their marketing around this axis directly.
Under 2 pounds per pair is genuinely light, ideal for speed-focused hiking and minimizing fatigue over long single-day distances. 2 to 3 pounds represents a balanced middle ground between support and the endurance benefits of lighter weight — this range covers most mid-duty boots reasonably well. Over 3 pounds is suited specifically to extreme loads or winter use, where the added weight buys genuine structural benefit that lighter boots simply can’t provide.
The tradeoff to understand clearly: every additional pound of boot weight adds up over the cumulative distance of a hike in a way that’s easy to underestimate. This is precisely why matching weight to actual need matters — carrying unnecessary boot weight on moderate terrain trades away real energy efficiency for support you don’t actually need there.
The Torsional Rigidity and Sole Stiffness Question
Torsional rigidity — a boot’s resistance to twisting side to side — and sole stiffness both increase directly with the boot categories described above, and understanding what they actually do helps make sense of why heavier boots feel so different underfoot.
A stiffer sole protects your feet from rocks and prevents excessive over-flexing on uneven ground, which matters considerably more when you’re carrying real weight or crossing loose, technical terrain. Torsional rigidity specifically limits the side-to-side twisting that leads to both foot fatigue and ankle rolls on rough terrain — a boot that flexes and twists freely underfoot demands more stabilizing effort from your own foot and ankle muscles with every step, which compounds into genuine fatigue over a long hiking day.
The tradeoff is real, though: this same rigidity and stiffness is precisely what makes heavier boots feel clunky and demanding on moderate, well-maintained trails where you don’t need that level of protection. A stiff sole on a flat, groomed path doesn’t provide meaningful benefit — it just adds weight and reduces the natural flex that makes lighter footwear feel more responsive underfoot.
Waterproofing — When It Genuinely Matters and When It Doesn’t
Waterproof-breathable membranes, most commonly Gore-Tex, keep moisture out while still allowing water vapor to escape from inside the boot — the same fundamental technology used in waterproof-breathable rain jackets, applied to footwear. Non-waterproof mesh boots, by contrast, dry out faster once they do get wet, but they soak through considerably more easily in the first place.
This is genuinely a real tradeoff rather than a case where one option is simply better. Waterproof membranes matter considerably for spring hiking with snowmelt or frequent rain exposure, where keeping water out in the first place prevents the discomfort and blister risk that comes with hiking in genuinely soaked boots for hours. In hot, dry conditions — summer desert trails or consistently hot climates — that same waterproof membrane traps more heat and reduces breathability compared to open mesh construction, which becomes the bigger practical problem in those specific conditions.
Match your choice to your actual climate and season rather than defaulting to waterproof construction as an automatic upgrade. A hiker doing most of their miles in hot, dry summer conditions is often better served by breathable mesh than by a waterproof membrane they don’t actually need for the moisture conditions they’re hiking in.
Fit Matters More Than Every Other Spec Combined
No amount of support, waterproofing, or brand reputation compensates for a boot that doesn’t actually fit your foot — this is the single most repeated piece of advice across experienced boot fitters, and it’s worth taking seriously rather than treating as generic caution.
Toe box space needs a genuine thumb’s width of room between your longest toe and the front of the boot, specifically to account for foot swelling that happens naturally during descent — a boot that fits snugly at the toe while standing still can genuinely jam your toes painfully on a long downhill stretch.
Volume, heel lock, and toe box shape vary meaningfully between brands, and this variation matters more than most first-time buyers expect. Some brands build wider, more accommodating lasts (the foot-shaped mold a boot is built around) that suit wider feet better than the industry-standard narrower last most brands default to. Others specifically build a foot-shaped, wider toe box designed to let toes splay naturally rather than compressing them into a narrower, more traditionally tapered shape. If you’ve had blister or numbness problems with boots before, this variation between brands is genuinely worth exploring directly — the right last shape for your specific foot may simply be a different brand than what you’ve tried previously, rather than a sizing problem within the same brand.
Heel lock matters as much as toe box room. A heel that slides or lifts inside the boot during a stride creates genuine blister risk at the back of the foot, regardless of how well the rest of the boot fits — a secure, non-slipping heel hold is a real fit requirement, not a minor detail.
If you’ve genuinely never had fit problems — no blisters, no numb toes, no heel slippage — in previous hiking footwear, you likely don’t need to obsess over these specific variations for occasional, forgiving-terrain use. But if you have experienced any of these problems, this is exactly the area worth investing real attention into before your next purchase, since it’s usually the actual root cause rather than a boot that simply “needs breaking in more.”
Sizing for Foot Swelling and Sock Thickness
Beyond the general toe box guidance above, a few practical sizing habits matter specifically for hiking boots rather than everyday shoes.
Try boots on later in the day rather than first thing in the morning, since feet naturally swell somewhat over the course of a day — fitting a boot to a morning-sized foot risks a genuinely too-tight fit once you’re several hours into an actual hike. Wear the actual hiking socks you plan to use with the boots during any fitting, since sock thickness genuinely changes how a boot fits — a boot fitted with thin dress socks can feel meaningfully different once you switch to a thicker hiking-specific sock.
Break-In Expectations by Construction Type
Modern synthetic hiking boots generally break in faster than traditional full-leather construction, a genuine shift in expectations that’s occurred as manufacturers have invested in better out-of-the-box ergonomics and faster-adapting materials. That said, regardless of construction type, never take a brand-new pair of boots directly on a demanding hike without any break-in period first.
The practical process: start with shorter walks on pavement or easy terrain, then progress to short, easy hikes in the 3-to-5-mile range specifically while carrying the pack weight you’d actually use on a real trip — this reveals genuine fit issues under real conditions rather than the artificially easy conditions of walking around your house. Build mileage gradually from there; by somewhere around 20 to 30 total miles, most boots have genuinely shaped to your foot and you’re ready for a longer, more demanding trip. For the full process including hot spot management and lacing techniques, our how to break in hiking boots guide covers this in depth.
Matching Ankle Cuff Height to Your Actual Needs
Mid-to-high-cut ankle cuffs help prevent ankle rolls and sprains while also keeping mud, moisture, and trail debris out of the boot’s interior — a real, meaningful benefit specifically on uneven, technical, or debris-heavy terrain. Low-cut hiking shoes and trail runners trade that ankle protection for genuinely lighter weight and more natural ankle mobility, which suits groomed, even terrain and lighter loads well.
The honest answer to “how much ankle support do I actually need” comes back to the same load-and-terrain question that opened this guide. A day hiker on maintained trails with a light pack often does perfectly well in a low-cut shoe; a backpacker carrying real weight across loose, uneven ground genuinely benefits from the mid-to-high cuff’s ankle stabilization.
When a Boot Isn’t Actually the Right Tool
If your hiking is genuinely light-and-fast on groomed trails without a pack, a trail running shoe may be a better match than a hiking boot at all — this is a real, legitimate alternative rather than a compromise, and it’s worth considering honestly before defaulting to boot shopping simply because “hiking boots” is the expected category. The decision points that matter for trail running shoes are somewhat different from the ones covered in this guide, but the underlying logic is the same: match the footwear to your actual demands rather than a generic assumption about what hiking requires.
Quick Decision Framework
Occasional walker on forgiving, well-maintained terrain with a light or no pack: A lightweight hiking boot or even a trail running shoe, prioritizing comfort and low weight over maximum support you won’t need.
Regular day hiker covering moderate distances with some elevation and a day pack: A mid-duty hiking boot, balancing genuine support with reasonable weight for the most common hiking use case.
Backpacker carrying real overnight loads, or anyone hiking mountainous or off-trail terrain regularly: A backpacking or mountaineering-grade boot, accepting the weight tradeoff for the ankle protection and torsional rigidity that heavier loads and technical terrain genuinely demand.
Anyone who’s had blisters or numbness in previous boots, regardless of category: Prioritize trying multiple brands’ lasts directly rather than assuming a sizing adjustment within your current brand will solve the problem — the actual issue is very often last shape rather than size.
Final Thoughts
The right hiking boot isn’t a single model that outperforms every other option — it’s the boot whose support level, weight, and fit actually match your specific pack weight, terrain, and foot shape. Start by being honest about your actual typical trip rather than your most ambitious hypothetical one, understand that waterproofing and stiffness both involve real tradeoffs rather than being unconditional upgrades, and treat fit — toe box room, heel lock, and brand-specific last shape — as the single factor that matters more than every spec sheet comparison combined.
Get that matching right, and the specific brand or model becomes a much smaller decision than most first-time buyers initially assume.
For the footwear system that works alongside the right boot, check our best hiking boots for men and best hiking boots for women guides for options across these categories, and our how to break in hiking boots guide for the process that turns a well-chosen boot into a genuinely comfortable one.