
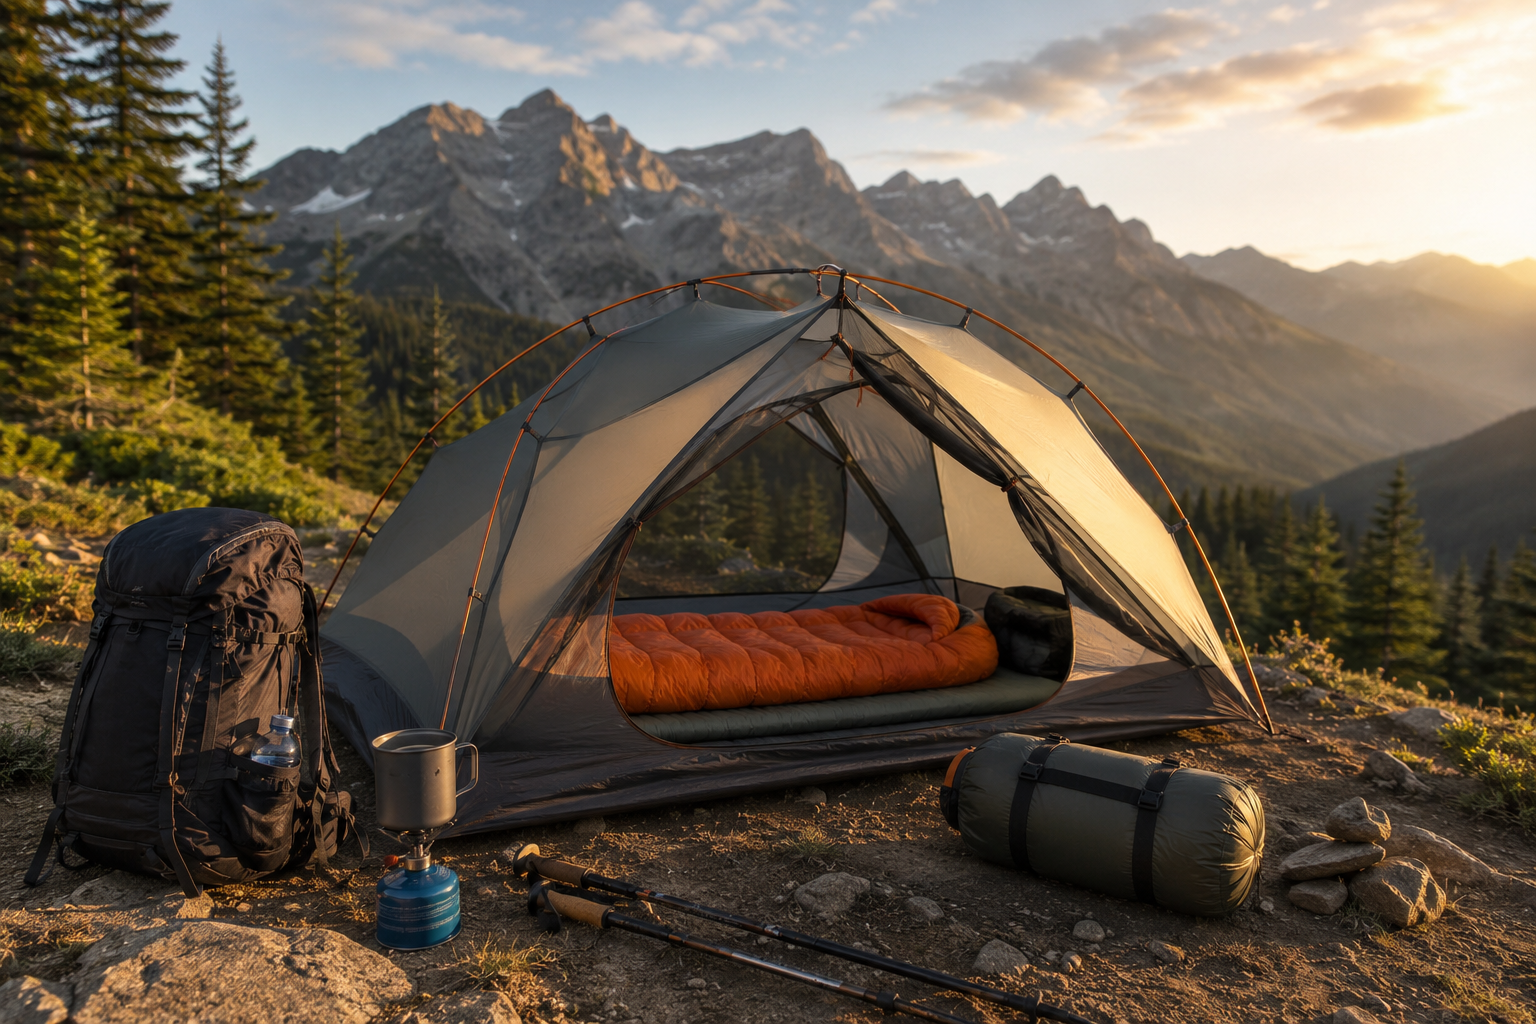
A backpacking tent is one of the most expensive single pieces of gear most hikers ever buy, and it’s also one of the pieces where the “best” option genuinely depends on how and where you hike rather than any single spec sheet number telling the whole story. The lightest tent on the market isn’t automatically the right one if it’s genuinely difficult to pitch correctly at the end of a long day, and the most weatherproof four-season shelter is overkill and dead weight for a hiker who only camps on established three-season trails. Choosing well means understanding a handful of genuinely consequential tradeoffs — weight against durability, freestanding convenience against trekking-pole weight savings, season rating against real cost and bulk — rather than chasing a single number.
This guide covers exactly how to think through those tradeoffs, so you can match a tent to your actual hiking style rather than buying based on a single spec that sounds impressive in isolation. For the rest of your sleep system, our best backpacking sleeping pads guide covers the insulation layer that works alongside your tent and sleeping bag, and our multi-day backpacking checklist guide covers where your tent fits into a complete kit.
Freestanding vs. Trekking Pole Tents
This is the single most consequential design decision in modern backpacking tents, and it shapes nearly every other spec that follows from it.
Freestanding tents use their own dedicated pole structure and stand up on their own before you stake them down — a genuine practical advantage that shows up in several real ways. You can pitch a freestanding tent on rock, hard-packed ground, or any surface where stakes don’t drive in easily, since the poles alone hold the tent’s shape. You can also relocate a freestanding tent after pitching it — lift the whole structure and move it a few feet to a better spot — without needing to re-stake from scratch. The tradeoff is weight: dedicated tent poles add real mass that a trekking-pole design avoids entirely.
Trekking pole tents (also called non-freestanding shelters) use the hiking poles you’re likely already carrying as the tent’s structural support instead of dedicated tent poles, eliminating that redundant weight entirely. This is how some of the lightest tents on the market achieve genuinely remarkable weight numbers — a shelter with no poles of its own is simply lighter than one that carries its own frame. The real cost is setup difficulty: trekking pole tents require more precision to pitch correctly, particularly around tensioning the guylines to get a taut, wind-stable pitch, and they generally require a properly staked surface to hold their shape at all, ruling out rock slabs or hard-packed sites where stakes won’t drive.
Semi-freestanding designs, which use a partial pole structure combined with stake-out points, occupy a middle position — lighter than fully freestanding tents, easier to pitch than trekking pole shelters, but according to current gear-testing consensus, often not worth the specific tradeoff they represent. Several semi-freestanding models sacrifice enough wind stability that the marginal weight savings over a genuinely sturdy fully freestanding ultralight tent isn’t clearly worth it, while still not achieving the more meaningful weight savings a true trekking pole design delivers. If you’re choosing between categories, lean toward one end or the other — genuinely freestanding for convenience, or genuinely trekking-pole for maximum weight savings — rather than settling for the compromise in the middle.
Which to choose: If you already hike with trekking poles regularly, a trekking pole tent effectively gives you the shelter’s structural support for free, since you’re carrying those poles anyway. If you don’t hike with poles, are uncomfortable with the more finicky pitching process non-freestanding tents require, or frequently camp on rocky or otherwise difficult-to-stake terrain, a freestanding tent’s convenience and versatility are worth the additional pole weight.
Weight and Packed Size
Tent weight is usually reported as either “minimum trail weight” (the tent body, poles, and fly only — the minimum needed to actually pitch it) or “packed weight” (everything including stakes, stuff sacks, and guylines). These numbers can differ meaningfully, so compare like-for-like figures when weighing options against each other rather than comparing one tent’s minimum trail weight against another’s full packed weight.
As a rough current benchmark, ultralight solo tents frequently weigh under 2 pounds, while two-person models typically range from roughly 2 to 5 pounds depending on construction and season rating. Where your tent lands in that range should reflect your actual hiking style: high-mileage hikers and thru-hikers benefit disproportionately from shaving tent weight, since that savings compounds across hundreds or thousands of cumulative miles. Weekend and shorter-trip backpackers have more room to prioritize durability, interior space, and ease of setup over the last few ounces of weight savings, since the cumulative benefit of ultralight gear matters less over fewer total miles.
A useful overall target for combined weight across your “Big Three” — tent, sleeping bag, and sleeping pad — is somewhere around 10 to 12 pounds total for most three-season backpacking, though this varies with your specific priorities and budget. Treat this as a general orientation point rather than a strict rule; the right number for you depends on your trip length, terrain, and how much weight you’re comfortable trading for gear cost or durability.
Season Ratings
Tents are generally categorized by season rating, and matching this correctly to your actual hiking conditions prevents both being genuinely underprepared for real weather and unnecessarily carrying capability you don’t need.
Three-season tents are built for spring, summer, and fall conditions — the category that covers the overwhelming majority of backpacking trips most hikers actually take. These tents handle rain, wind, and moderate cold competently, but aren’t engineered for sustained heavy snow loads or genuinely extreme winter conditions. For most backpackers doing established trail hiking outside of deep winter, a three-season tent is the correct, non-overbuilt choice.
Four-season tents add reinforced pole structures, heavier and more wind-resistant fabric, and features like snow skirts specifically to handle sustained snow load and genuinely severe winter or high-altitude conditions. This capability comes with real costs in weight, bulk, and price, and it’s genuine overkill for three-season hiking — the added durability and snow performance solve a problem you don’t have if you’re not actually camping in winter conditions or high alpine environments where those conditions arise even outside calendar winter.
The practical guidance here is straightforward: buy a three-season tent unless you have a specific, identifiable need for four-season capability — genuine high-altitude camping above roughly 10,000 feet in shoulder season, planned winter backcountry trips, or sustained exposure to conditions where snow load is a realistic scenario rather than a remote possibility.
Fabric and Durability
Tent fabric weight is measured in denier (D) — a lower number means a lighter, thinner fabric, and a higher number means heavier, more abrasion-resistant material. This spec directly trades off against weight, and understanding where your tent’s fabric sits on that spectrum helps set realistic expectations for durability.
Lighter deniers, commonly in the 10D to 15D range on current budget-to-midrange shelters, keep pack weight down and represent a genuine current value standard for three-season use — adequate durability for typical trail conditions, provided you’re reasonably careful about ground surface and generally follow good tent-care practices. These lighter fabrics do benefit from careful seam sealing before extended wet-weather trips, and they’re less forgiving of rough treatment — sharp rocks, careless footwork around the tent, or repeated setup on abrasive surfaces — than heavier fabric options.
Heavier deniers and premium high-tenacity fabrics trade some weight savings for genuinely better tear resistance and longer-term durability, a reasonable choice for hikers who prioritize gear longevity or who camp in conditions where fabric abrasion is more likely. Some current premium tents also use specialized high-tenacity fabrics engineered specifically to resist sagging and maintain taut pitches better than standard nylon at a comparable weight — worth knowing about if fabric performance under tension (not just raw denier) matters to your specific priorities.
Interior Space and Livability
Floor dimensions and peak height matter considerably more in practice than they might seem to on a spec sheet, particularly for multi-day trips where you’re spending genuine time inside the tent beyond just sleeping — waiting out weather, organizing gear, or simply resting during a rainy afternoon.
Floor shape varies between tapered designs, which narrow toward the foot end to save fabric and weight, and rectangular designs, which maintain full width throughout. A tapered floor saves real weight but can feel cramped for two people using wide sleeping pads that would otherwise overlap; a rectangular floor accommodates two full-width pads more comfortably at the cost of some additional fabric weight.
Peak height and wall angle affect how usable the interior space actually feels beyond just the floor dimensions. Tents with more vertical walls near the head end genuinely feel more spacious for sitting up, changing clothes, or simply existing inside the tent during a weather delay, compared to tents with steeply sloped walls that technically have similar floor area but feel considerably more cramped in practice.
Vestibule space — the covered but unenclosed area outside the tent’s main door, typically under the rain fly — matters for storing wet gear, boots, and packs without bringing them into the tent’s main sleeping area. A generous vestibule genuinely improves livability on wet, multi-day trips where keeping mud and moisture out of your sleeping space matters considerably.
Door configuration matters most for two-person tents specifically. A dual-door design lets each occupant enter, exit, and access their own vestibule independently without climbing over a tent-mate — a genuinely meaningful comfort improvement for two-person use that single-door designs don’t offer.
Setup and Real-World Reliability
The most capable tent on paper is genuinely useless if you can’t pitch it correctly under real trail conditions — at the end of a long mileage day, in fading light, with rain already starting. This is worth taking seriously as a practical selection criterion, not just an afterthought once you’ve already bought a tent.
Freestanding designs are consistently the most forgiving to pitch, requiring less precision and fewer stake-dependent steps to achieve a stable structure. Trekking pole and non-freestanding designs require genuine practice to pitch correctly and consistently — the tensioning and staking process has more room for error, and a poorly pitched trekking pole tent performs considerably worse in wind and rain than a well-pitched one, in a way that’s less true of freestanding designs.
Regardless of which category you choose, practice pitching your specific tent multiple times in low-stakes conditions — your backyard, a local park, anywhere without the pressure of fading light and building weather — before relying on it in the backcountry for the first time. This single habit does more to prevent a genuinely miserable first backcountry night than almost any spec-sheet decision covered elsewhere in this guide.
How to Actually Choose
Start with your typical trip type, not the lightest tent available. A high-mileage thru-hiker or someone doing serious weekly mileage benefits disproportionately from an ultralight trekking pole tent. A weekend backpacker doing shorter, less frequent trips is often better served by a lightweight — not necessarily ultralight — freestanding tent that prioritizes ease of setup and durability over shaving the last few ounces.
Match season rating to your actual conditions, not your most ambitious hypothetical trip. Buy the three-season tent unless you have a specific, identifiable four-season need on the calendar. Carrying unnecessary four-season capability on routine three-season trips means hauling real extra weight and bulk for a capability you’re not using.
Weigh freestanding convenience against trekking-pole weight savings honestly. If you already carry trekking poles and are comfortable with more precise pitching, a non-freestanding design gives you real weight savings essentially for free. If you don’t carry poles, frequently camp on rock or hard ground, or simply prefer the lower setup difficulty, pay the weight cost for a freestanding design.
Don’t underestimate interior livability for the sake of a marginal weight difference. A few extra ounces that buy genuinely more usable interior space — better wall angles, a larger vestibule, a rectangular rather than tapered floor for two-person use — are often worth carrying, particularly on longer trips where you’ll spend real time inside the tent beyond just sleeping.
Practice your specific tent’s setup before you need it in real conditions. This applies regardless of which category or price point you choose, and it matters more for trekking pole and non-freestanding designs specifically, where pitch quality has a genuinely larger effect on real-world performance.
Final Thoughts
The right backpacking tent is the one that matches your actual hiking style — trip length, typical terrain, how much weight you’re willing to trade for durability and ease of setup, and whether your trips ever genuinely demand four-season capability. There’s no single best tent across every use case, only the right tradeoff for your specific pattern of trips. Buy for the hiking you actually do, not the most ambitious trip you can imagine taking, and practice pitching whatever you choose before your first night depending on it in the backcountry.
For the rest of your sleep system, our best backpacking sleeping pads guide covers the insulation layer beneath you, and our multi-day backpacking checklist guide covers everything else that belongs alongside your tent in a complete kit.