
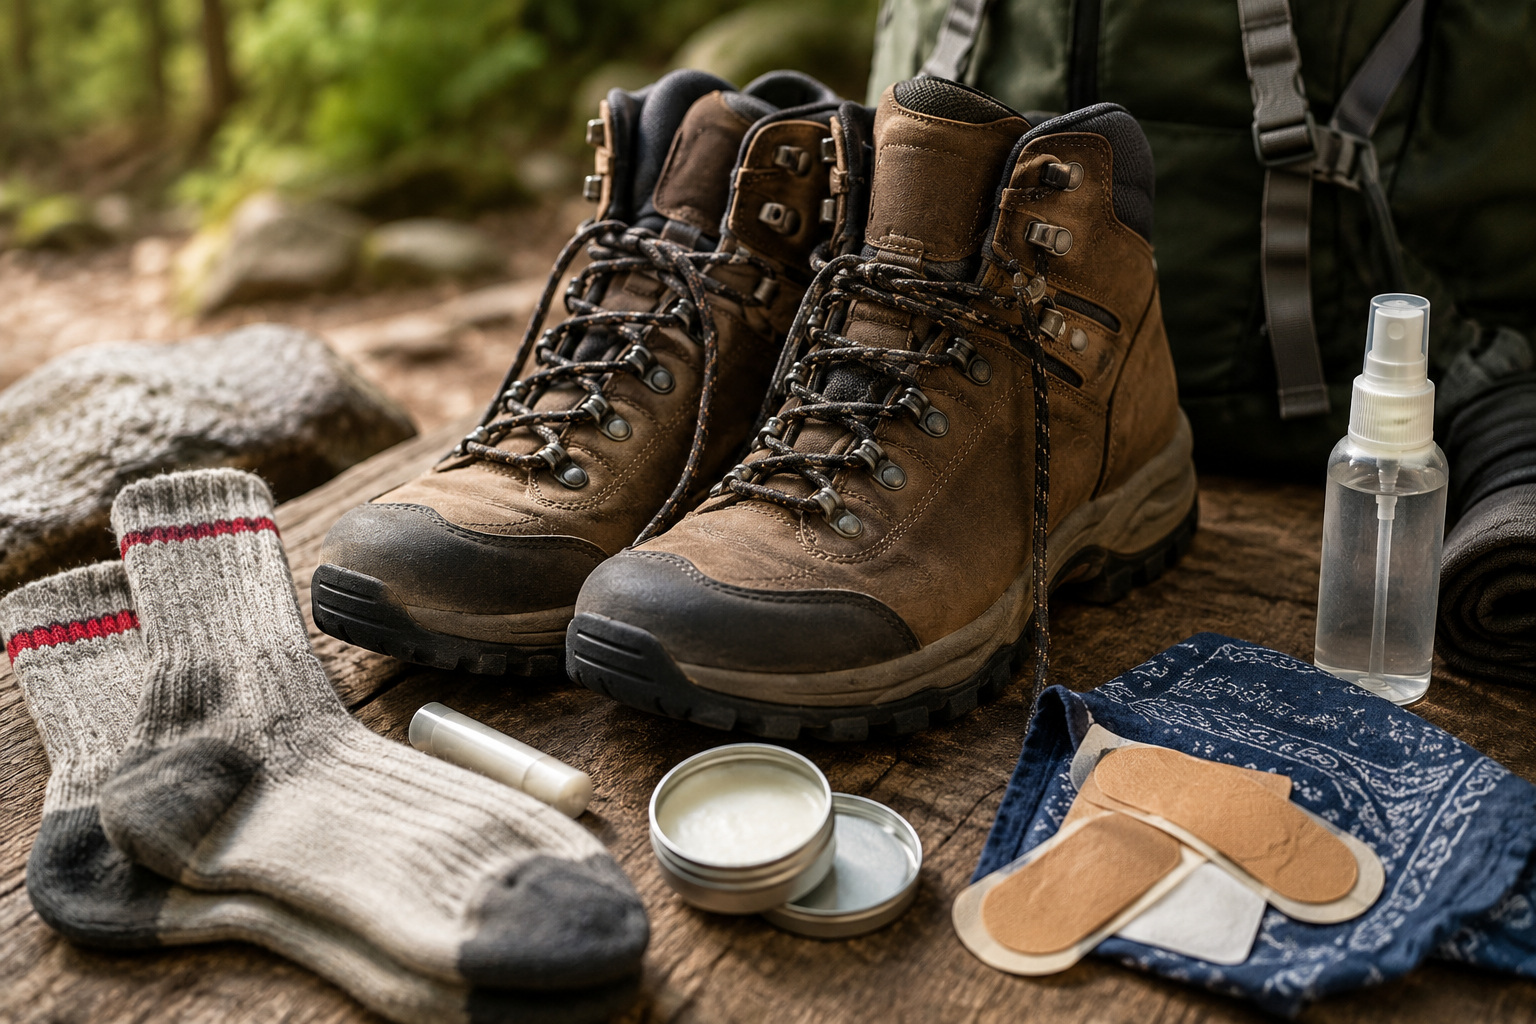
New hiking boots feel like a promise and a threat at the same time. They’re going to carry you up mountains and across rivers for years to come, and they’re also, right out of the box, stiff enough to turn the first few miles into genuine misery if you skip the work of breaking them in. Every hiking boot on the market — from budget synthetics to premium full-grain leather — is built around a generic foot-shaped last, not your actual foot, and the break-in process is what closes that gap. Skip it, and the boot that’s supposed to protect your feet becomes the thing that damages them instead.
This matters more than most first-time boot buyers expect, because the timing genuinely works against you if you wait. A boot that needs two to four weeks of gradual wear to properly conform can’t be broken in the night before a big trip, and blisters that show up on day one of a multi-day hike don’t just hurt — they can genuinely derail the trip, since a blister that gets walked on repeatedly can blister further, become infected, or force you to change your gait in ways that strain your knees and hips. This guide covers exactly how to break in hiking boots properly, how long it actually takes, and what to do if you’re already close to departure and running out of time.
For the socks and insoles that work alongside a properly broken-in boot, our best hiking socks and best boot insoles for hiking guides cover the rest of the system that determines whether your feet stay comfortable on trail.
Why Boots Need Breaking In at All
A hiking boot straight from the factory hasn’t yet learned the shape of your foot. The materials — leather, synthetic overlays, the internal padding and lining — are still in their manufactured, uniform state, and they need repeated flexing and gentle pressure to soften and mold specifically around your foot’s actual contours: where your arch sits, how your heel moves, where your toes splay. Until that happens, the boot creates friction at exactly the points where your foot’s shape doesn’t match the boot’s factory shape, and that friction is what produces hot spots and, eventually, blisters.
Leather boots need this process more than synthetic ones, and it’s worth understanding why before you buy, not just how to manage it afterward. Full-grain leather is a genuinely stiff material initially, and it can take several weeks of incremental wear to soften into a boot that moves naturally with your foot. Synthetic boots, built from more flexible manufactured materials, often feel comfortable after just a few days of short walks — meaningfully less commitment, though even synthetic boots benefit from a deliberate break-in period rather than going straight from the box to the trail.
How Long Break-In Actually Takes
Plan for a genuine range here rather than a single number, because boot material and construction change the timeline significantly. As a practical baseline, most hikers should plan to walk 15 to 20 miles in new boots before attempting anything resembling a serious hike — and that mileage should be accumulated gradually, not knocked out in one or two long sessions that risk creating the exact blisters you’re trying to prevent.
In calendar time, that generally works out to somewhere between one and four weeks of regular, incremental wear. Synthetic and lighter hybrid boots often reach a comfortable, trail-ready state within the shorter end of that range — sometimes just a handful of days of short walks. Heavier full-grain leather boots, particularly stiffer backpacking-specific models built for carrying real pack weight, more commonly need the full three to four weeks to properly soften and conform.
The practical implication is straightforward: buy your boots well before a big trip, not the week before. If you’re eyeing a multi-day backcountry trip or a demanding day hike with real elevation gain, give yourself a minimum of two to three weeks of deliberate break-in time, and lean toward four weeks if you’ve chosen a stiffer leather boot or if your trip involves carrying a loaded pack.
The Step-by-Step Break-In Process
Step 1: Confirm the Fit Before You Start Breaking Anything In
No amount of break-in time will fix a boot that’s genuinely the wrong size or shape for your foot. Before committing to the process below, confirm the fundamentals: your toes should have real room to wiggle and shouldn’t jam against the front of the boot on a downhill incline, your heel should stay locked in place without lifting noticeably with each step, and there shouldn’t be any pinching or pressure across the top of your foot when the boot is laced normally. If any of these feel wrong straight out of the box, that’s a sizing or model problem, not a break-in problem — the discomfort won’t resolve with wear, and continuing to hike in a genuinely poor-fitting boot risks real injury beyond blisters.
Step 2: Wear Them Indoors First
Start by wearing your new boots around the house for short stretches — 30 minutes to an hour at a time, doing normal household activities like chores, cooking, or simply walking around. This might feel unnecessary, but it accomplishes two genuinely useful things: it lets the boot begin softening under low-stakes conditions where you can take them off the moment something feels wrong, and it lets you walk on varied indoor surfaces — carpet, hardwood, tile — that flex your foot slightly differently than a single uniform surface would.
Wear your actual hiking socks during this stage, not casual socks, since sock thickness and material genuinely affect fit and friction points. If you plan to hike in a specific liner-and-outer-sock combination, use that same combination now rather than discovering a fit problem later that was actually a sock problem.
Step 3: Move to Short Outdoor Walks
Once the boots feel reasonably comfortable indoors — no sharp pressure points, no immediate rubbing — take them outside for short walks on pavement or flat ground. Errands, a walk around the block, or a short dog walk all work well here. This introduces genuine outdoor conditions, including whatever temperature and moisture variation your indoor test walks didn’t cover, while keeping the terrain simple enough that you can still catch and address problems early.
Pay close attention during this stage to any spot where you feel rubbing, pressure, or friction — commonly called a hot spot. A hot spot is your early warning system, and it’s genuinely worth stopping the moment you feel one rather than pushing through to finish a walk. Address it immediately: adjust your lacing, smooth out a bunched sock, or apply moleskin or a blister-prevention patch directly over the area before it progresses into an actual blister. Hot spots that get ignored and continue rubbing are how blisters form in the first place — catching them early is the single most effective habit in the entire break-in process.
Step 4: Add Distance and Real Terrain
As the short outdoor walks start feeling genuinely comfortable, extend both distance and terrain complexity. Move from pavement to gravel paths, gentle hills, or forest trails — surfaces that flex your foot and ankle differently than flat concrete, and that better represent what an actual hiking trail demands. This is the stage where you find out whether the boot handles genuine trail conditions, not just casual daily wear.
Increase distance gradually across multiple outings rather than jumping straight to a long hike. A useful rhythm is adding roughly a mile or two to your total distance with each subsequent walk, watching consistently for hot spots or discomfort as the mileage builds. By the end of this stage, you’re aiming for the kind of moderate, varied-terrain walking that starts to resemble an actual day hike, just shorter.
Step 5: Add a Loaded Pack
If your eventual trip involves carrying real weight — a day pack with water and gear, or a full backpacking load — add a similarly weighted pack to your later break-in walks. This step matters more than it might seem: a loaded pack changes your gait, shifts your weight distribution, and puts different pressure through your feet and ankles than walking unweighted does. A boot that feels perfectly broken in during unweighted walks can reveal new pressure points once you’re carrying 20 or 30 pounds on your back, and you want to discover that during a training walk near home, not three miles into your actual trip.
Step 6: Treat Your First Real Hike as a Dry Run
Even after a thorough indoor-to-outdoor break-in process, treat your first genuine hike in new boots as a test rather than the real deal. Choose a shorter, lower-elevation trail with minimal technical obstacles rather than jumping straight into your big trip’s terrain. Watch closely for rubbing, pressure, or redness during and after the hike, and consider packing a second, already broken-in pair of boots or shoes as backup if you have any doubt about how the new pair will hold up — particularly valuable if this dry-run hike happens close to your actual departure date.
Techniques That Speed Up Break-In Safely
Wear boots during daily errands and chores, not just dedicated walks. Walking the dog, running errands, or simply wearing them around the house on an ordinary day adds genuine break-in mileage without requiring you to carve out separate training-hike time.
Use boot stretchers on specific tight areas if your boots allow it. A boot stretcher applies gentle, sustained pressure to a specific tight zone — often the toe box or a particular width point — helping that area soften and expand slightly faster than general wear alone would. Use this gently and gradually rather than aggressively, since over-stretching a boot can compromise its structural support.
Heat mold boots only if the manufacturer specifically supports it. Some boot models are designed with heat-moldable liners or materials, and if yours is one of them, following the manufacturer’s specific heat-molding instructions can meaningfully speed up the process. This is not a universal technique — attempting to heat mold a boot that isn’t built for it risks damaging the material.
Use advanced lacing techniques to solve specific fit problems rather than just tightening everything uniformly. A heel-lock or surgeon’s knot lacing pattern helps keep your heel seated firmly in place, reducing the heel lift that causes friction on the back of your foot with every step. A window lace pattern — skipping a set of eyelets over a specific pressure point — relieves pressure across the top of the foot where boots commonly rub against the tongue or laces themselves.
Stuff tight areas with rolled socks or towels between wears. Placing rolled socks or a small towel into specific tight zones of the boot when you’re not wearing them applies gentle, sustained stretching pressure overnight. This works best as a supplement to regular wear, not a replacement for it.
What to Avoid
Skip the internet “hacks” involving water or heat that aren’t manufacturer-approved. Soaking boots in water and then wearing them wet, or baking them in an oven, are both commonly circulated shortcuts that can genuinely damage the boot’s material, adhesives, or structural integrity. The apparent time savings isn’t worth the real risk of ruining a boot you just paid for.
Don’t over-condition leather boots. Conditioning leather boots with the appropriate product helps maintain flexibility and water resistance, but doing it too frequently can actually soften the material more than intended, weakening the structure over time. As a general guideline, condition leather boots roughly every three to six months under normal use rather than before every single hike.
Don’t push through a hot spot hoping it resolves itself. This is the single most common mistake in the entire break-in process. A hot spot is discomfort you can still fix in the moment — adjusting a lace, smoothing a sock, applying a blister patch. Once you push through it and it becomes an actual blister, you’ve lost that window, and the blister will likely keep worsening for the rest of that hike regardless of what you do afterward.
Don’t skip hydration on training walks because they feel short and easy. Even a modest break-in walk is more physically demanding than routine daily walking, and staying properly hydrated supports your body’s ability to handle the repeated stress of the break-in process without compounding fatigue on top of new-boot discomfort.
How to Know Your Boots Are Actually Broken In
You’ll know a boot has genuinely completed the break-in process when a few specific things are true. You can wear the boots for an extended period — several hours of walking or hiking — without developing new hotspots or blisters. There’s no lingering stiffness that requires conscious effort to walk normally; the boot flexes with your foot’s natural movement rather than resisting it. And critically, this holds true not just on flat, easy terrain but across the varied surfaces and inclines your actual trip will involve.
If you’re still feeling meaningful discomfort after several weeks of consistent, gradually increasing wear, that’s worth treating as a signal the boot may not be right for your foot shape rather than continuing to push through — some boots, regardless of brand reputation or reviews from other hikers, simply don’t match a specific foot’s proportions, and no amount of additional break-in time resolves a genuine fit mismatch.
If You’re Running Out of Time Before a Trip
If you’ve bought boots close to departure and don’t have the full two-to-four-week runway this process ideally calls for, prioritize triage over perfection. Concentrate your remaining time on indoor wear and short outdoor walks rather than skipping straight to long hikes — even a few days of consistent short-session wear meaningfully softens a boot compared to zero break-in at all. Pay extra attention to hot spot management on the trip itself: carry moleskin or blister patches in your pack and apply them proactively the moment you feel any rubbing, rather than waiting to see if it goes away.
If genuinely no break-in time remains, seriously consider hiking your trip in a pair of already broken-in boots or shoes instead, even if they’re not your first choice for the terrain, and save the new boots for proper break-in afterward. A boot with better trail-specific features but zero break-in time is a worse choice on day one than a boot with fewer features that your feet already know well. For situations where you’re managing blisters that have already developed, our best ultralight hiking first aid kits guide covers the moleskin, tape, and wound-care supplies worth having on hand regardless of how prepared your boots are.
Final Thoughts
Breaking in hiking boots is genuinely unglamorous work — short walks around the block, paying close attention to minor discomfort, resisting the urge to jump straight to the exciting part. But the payoff is real and immediate the moment you’re actually on trail: boots that move with your feet instead of against them, day one of a big trip that starts comfortable instead of already managing blisters, and a piece of gear that’s now genuinely shaped to you rather than to a generic factory last.
Start early, build gradually from indoor wear through short outdoor walks to loaded, varied-terrain hikes, and treat every hot spot as an emergency worth stopping for. Do that consistently in the weeks before a big trip, and your feet will thank you on every mile that follows.
For more on the footwear system that works alongside properly broken-in boots, check our best hiking boots for men and best hiking boots for women guides for options worth considering before your next pair.