
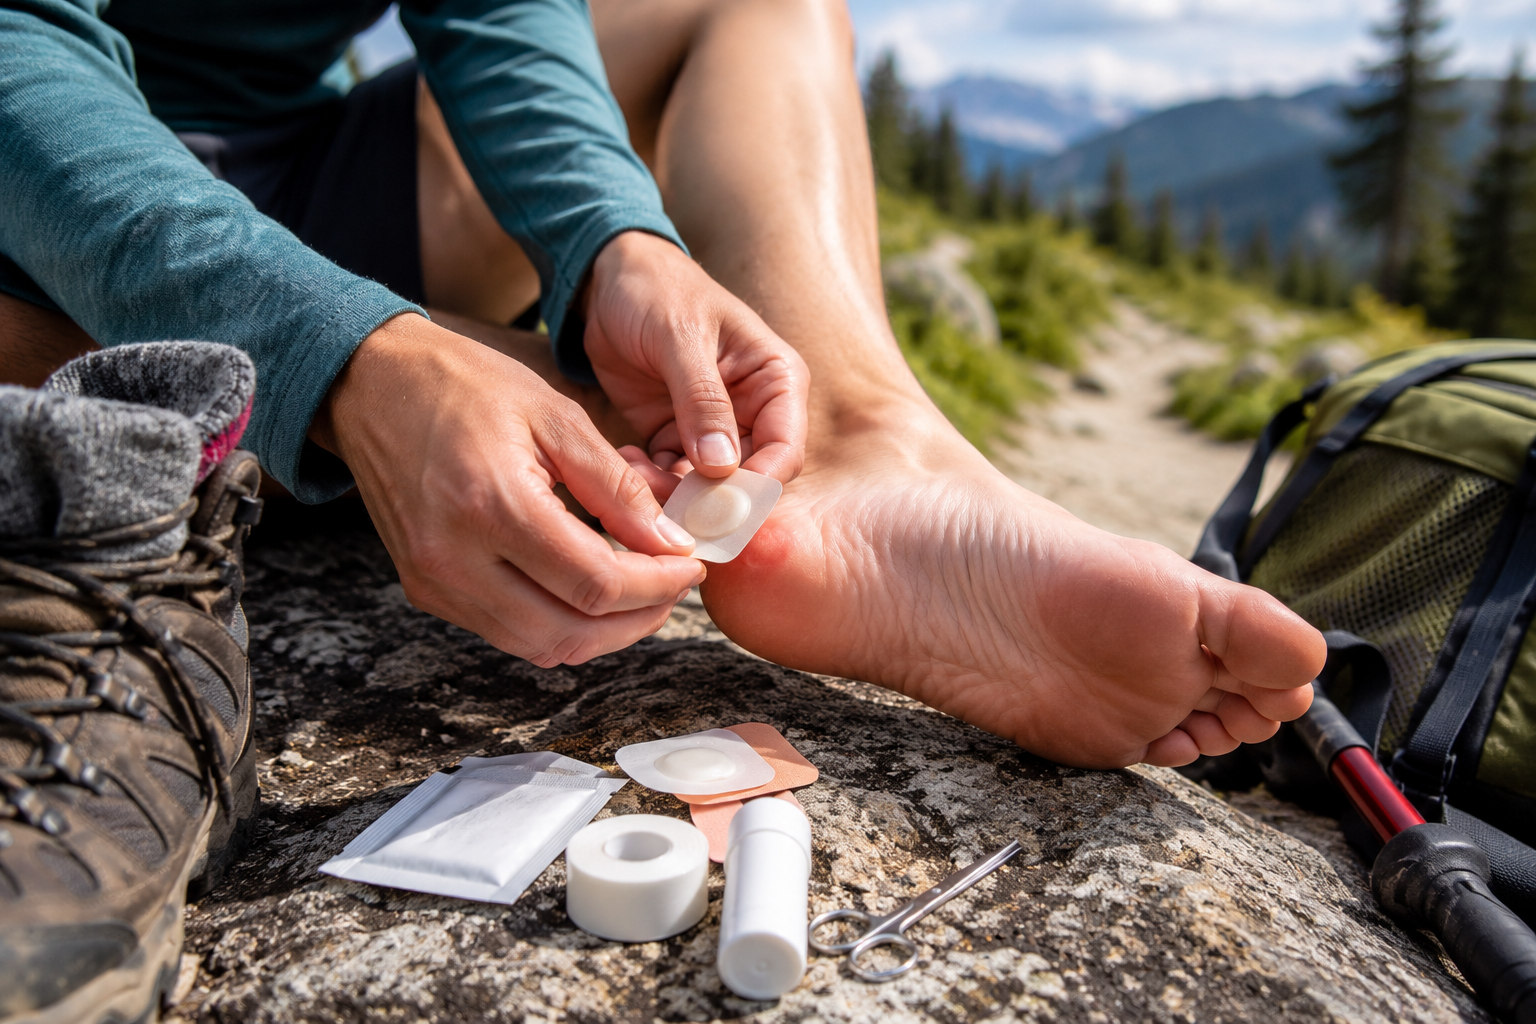
A blister feels small right up until it isn’t. What starts as a minor rub on the back of the heel a few miles into a hike can become a coin-sized, raw wound by the time you reach camp — and blisters remain one of the single most common reasons hikers cut a trip short, not because the injury itself is dangerous, but because every subsequent step becomes genuinely painful once one develops. The good news is that blister prevention is genuinely a controllable system rather than bad luck, and understanding the mechanics behind why blisters form is the foundation for actually stopping them before they start.
This guide covers exactly why blisters form, the specific prevention habits that address each contributing factor, how to recognize a hot spot before it becomes a real blister, and what to do when prevention fails and you need to treat one on trail.
For the socks and footwear that matter most in this entire equation, our best hiking socks guide and our how to break in hiking boots guide cover the two biggest prevention levers before you even hit the trail.
Why Blisters Actually Form
Blisters are your body’s protective response to friction, heat, and moisture combining inside your footwear — but the actual mechanical cause is more specific than just “rubbing.” On a long hike, blisters typically result from shear: the layers of skin sliding against each other as the bones and tissue inside your foot move with every step. This repeated shearing motion can create a sub-surface tear in the skin within roughly two hours of sustained hiking, well before you’d necessarily feel obvious discomfort.
Moisture and heat then compound this mechanical problem rather than causing it outright — they raise skin friction and soften the tissue, making it more vulnerable to the shearing motion that’s already occurring. This is why a genuinely effective prevention system has to address both halves of the problem: reducing the actual friction and shear happening inside your shoe or boot, and separately managing the moisture and heat that make your skin more susceptible to that friction in the first place.
Prevention: Footwear Fit and Lacing
Properly fitted footwear is the single most important prevention factor, more foundational than any specific product or technique covered later in this guide. Shoes or boots that are too loose encourage genuine sliding and rubbing inside the shoe with every step, which directly creates the shear that leads to blisters. Too tight, and the footwear creates its own concentrated pressure points. Getting the fit right — genuine toe box room, secure heel lock, no excessive internal movement — solves more of the underlying problem than any tape or lubricant applied afterward.
Lacing technique is a genuinely underused prevention tool. Adjusting how you lace your shoes changes where pressure concentrates and how much your foot can shift inside the shoe with each step. A heel-lock lacing pattern specifically reduces the heel slip that’s one of the most common blister locations, and adjusting lacing tightness at different points along the shoe can address specific pressure points without needing to change footwear entirely.
Break in new footwear before committing to a long hike. Wearing new boots or shoes around the house or on shorter walks first lets you identify potential friction points while the stakes are low, rather than discovering a fit problem five miles into a demanding trail day. Trail running shoes often require less break-in than traditional boots, though even minimal-break-in footwear benefits from a shorter walk before a genuinely long day.
Prevention: Moisture and Sock Choice
Never wear cotton socks for hiking. Cotton retains water and sweat rather than moving it away from your skin, and that retained moisture directly increases both friction and the skin-softening effect that makes blisters more likely. Synthetic or wool socks manage moisture considerably better, and this single substitution addresses a real, common contributing factor that has nothing to do with fit or lacing at all.
Confirm your socks actually fit properly, not just that they’re the right material. A sock that bunches, wrinkles, or doesn’t match your foot’s actual shape creates its own friction points independent of the shoe itself — sock fit matters as a genuinely separate variable from footwear fit.
Change socks if they become damp during a hike, and consider a liner sock under a slightly looser outer sock for genuinely long days. A thin liner sock manages moisture directly against the skin while the outer sock handles cushioning and structure — this two-layer approach lets the two materials each do their specific job rather than asking one sock to manage friction, cushioning, and moisture simultaneously.
Waterproof socks are worth considering for trips involving stream crossings or consistently wet trail conditions, particularly if you’re hiking in breathable trail running shoes rather than waterproof boots. Keeping feet genuinely dry through creek crossings prevents the extended moisture exposure that softens skin and accelerates blister formation.
Prevention: Lubricants, Tape, and Powder
Applying a lubricant or anti-friction cream to known hot spot areas before you start hiking is a genuinely effective prevention technique, functioning as a direct alternative to taping those same areas — apply one or the other, since tape generally won’t stick well over a lubricant-treated area. Make sure feet are clean and dry before application for the product to actually work as intended.
Pre-taping known problem areas — heels, the fifth toe, anywhere you’ve blistered before — is worth doing before mile one rather than waiting for discomfort to appear. If you already know specific spots on your feet are prone to blistering based on past hiking experience, covering those areas proactively with moleskin or adhesive tape prevents the problem before it starts rather than reacting once a hot spot has already developed.
Foot powder helps manage moisture and reduce friction throughout a long hiking day, particularly useful as part of a broader system alongside sock changes and scheduled breaks rather than as a standalone solution.
Recognizing and Responding to a Hot Spot
A hot spot is your body’s early warning system, and recognizing it is the single most important skill covered in this entire guide. A hot spot is a small area that feels red, sore, or mildly painful — a clear signal that a blister is beginning to form, even though no actual blister exists yet. This is genuinely the moment where a few minutes of attention prevents hours of subsequent discomfort.
The moment you notice a hot spot, stop hiking and address it immediately rather than continuing and hoping it resolves on its own. Check the area, apply tape or a hot-spot-specific product directly over it, and adjust anything about your sock or lacing that might be contributing to the friction at that specific spot. This single habit — stopping immediately rather than pushing through discomfort — is consistently the difference experienced hikers cite between managing a minor irritation and ending up with a genuinely debilitating blister later in the same hike.
Check your feet regularly during scheduled breaks even without obvious discomfort, since some friction points develop without producing immediately noticeable pain until they’ve already progressed further than you’d want. Building foot checks into your normal rest stop routine catches problems before they become obvious enough to force a stop on their own.
Treating a Blister That’s Already Formed
Most blisters heal on their own within two to three weeks if left alone, and the general guidance is to avoid draining a blister if at all possible — the fluid inside actually supports the healing process, and opening a blister, even carefully, increases infection risk regardless of how clean your technique is.
For a small blister — smaller than a nickel — cover it with a padded protective dressing rather than draining it. A thicker padded material like molefoam, with a hole cut in the center positioned directly over the blister, protects the area from further friction while letting the blister itself heal underneath. A basic adhesive bandage often isn’t durable enough to survive continued walking; a more purpose-built dressing designed to stay in place under repeated foot motion holds up considerably better on trail.
If a larger blister becomes too painful to continue hiking on, draining it carefully is a legitimate option, but do it properly rather than simply popping it. Wash your hands and the blister area thoroughly with antibiotic soap first. Sterilize a needle, either over a flame or with rubbing alcohol, before use. Insert the needle at the base of the blister rather than the center, allowing the fluid to drain while leaving the overlying skin intact. Keep that loose skin in place afterward rather than removing it — it functions as a genuine protective barrier against infection for the raw tissue underneath. Coat the area with antibiotic ointment and cover it with a proper bandage or gauze once drained.
Be gentle throughout this entire process and avoid tearing the overlying skin. The goal is draining the fluid while preserving the skin’s protective function, not removing the skin entirely — a torn or removed blister roof leaves raw tissue directly exposed, which is both more painful and genuinely more vulnerable to infection than a properly drained blister with its covering intact.
What to Carry for Blister Care on Trail
A basic blister kit doesn’t need to be elaborate, but a few specific items genuinely matter. A durable, sticky athletic tape — Leukotape is frequently cited by experienced long-distance hikers as the gold standard specifically because it stays adhered under repeated walking motion far better than a standard adhesive bandage, which can wear through in under a minute of continued hiking. Moleskin or a thicker molefoam padding provides the protective coverage described above for an already-formed blister; covering moleskin itself with a layer of sticky tape extends how long it stays in place, since moleskin alone tends to work loose quickly under continued walking. A small sterile needle or pin, alcohol wipes for sterilization, and a small amount of antibiotic ointment round out what you need for the drain-and-treat process if a blister genuinely requires it.
End-of-Day Foot Care on Multi-Day Trips
The first task upon reaching camp on a multi-day trip should genuinely be foot care, before anything else. Remove hiking footwear and socks, then thoroughly clean and dry your feet — this removes the sweat, dirt, and bacteria that accumulate over a hiking day and that would otherwise continue compromising skin integrity overnight if left unaddressed.
Keep a dedicated pair of “camp socks” that never touch the trail. Warm, clean, dry socks used exclusively for camp and sleeping — never worn while actually hiking — genuinely support foot recovery overnight in a way that reusing your damp hiking socks simply can’t replicate.
Apply a healing balm or salve to clean, dry feet before bed to remoisturize skin and rebuild the protective barrier that a full day of hiking, sweat, and friction has worn down. Gently massaging and elevating your feet afterward helps reduce inflammation and drain some of the fluid accumulation from a long day’s swelling, setting your feet up in genuinely better condition for the next day’s mileage.
Final Thoughts
Blister prevention is a genuinely controllable system built from a handful of compounding habits — properly fitted footwear and thoughtful lacing to reduce shear, synthetic or wool socks and moisture management to keep skin resilient, and proactive taping of known problem areas before you ever feel discomfort. The single habit that matters most beyond all of these: recognizing a hot spot the moment it appears and stopping immediately to address it, rather than pushing through in the hope it resolves on its own. That one decision, more than any specific product or technique, is what separates hikers who manage minor foot irritation from those who end a trip early over a preventable, escalated blister.
For the gear that supports this entire system, check our best hiking socks guide for moisture-management options, and our how to break in hiking boots guide for the footwear fit process that prevents the majority of blister problems before they ever start.