
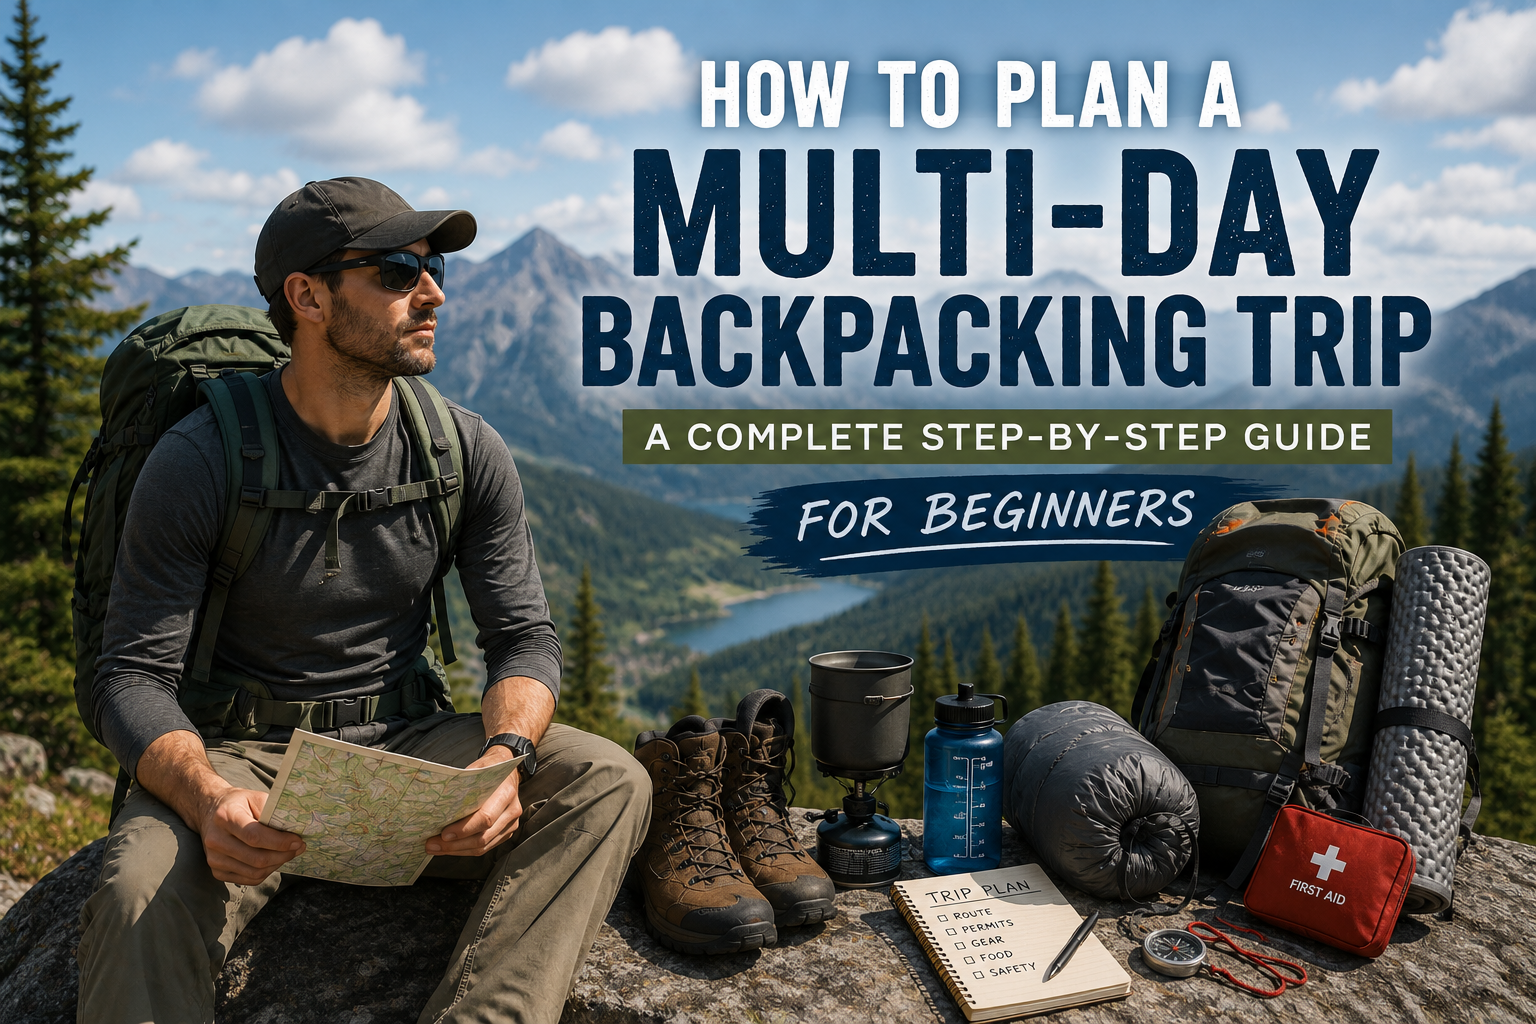
The jump from day hiking to overnight backpacking feels bigger than it actually is. Most of what makes multi-day trips intimidating isn’t the hiking itself — it’s the logistics. Where do you sleep. How much water do you carry. What happens if it rains. How do you plan food for three days without either starving or hauling ten pounds of unnecessary snacks. None of these questions are complicated once you’ve worked through them once, and after your first overnight trip, the second one plans itself in a fraction of the time.
This guide breaks the entire planning process into a clear, repeatable sequence — from picking your first trail to walking out the door with a pack that has everything you need and nothing you don’t. Whether you’re a regular day hiker looking to extend your range or someone with zero hiking background who wants to jump straight into an overnighter, this covers the complete process.
Step 1: Pick a Trail
The best way to find your first overnight trail is a simple search: “best overnight hikes near [your area].” You’ll find no shortage of blog posts, park websites, and trip reports covering the popular options in your region. Read through several of them rather than picking the first result — you’ll quickly notice the same handful of trails come up repeatedly across different sources, and that repetition is itself useful information. A trail that shows up in every list is popular for a reason, and popularity for a first overnight trip is an advantage rather than a downside.
For a first multi-day trip, prioritize trails with more built-in structure and support: maintained water sources, established campsites, pit toilets, and clear trail markers. These features reduce the number of variables you’re managing on your first trip and let you focus on the experience rather than troubleshooting. A trail with three hours of hiking per day is a genuinely reasonable target for a first-time overnight backpacker — enough distance to feel like a real accomplishment without demanding fitness or experience you haven’t built yet.
Save the ambitious, remote, poorly-marked routes for later trips once you understand your own pace, your gear, and how your body handles multi-day exertion with a loaded pack.
Step 2: Research the Trail Thoroughly
This is the most detailed part of the entire planning process, and it’s worth doing properly — once you’ve worked through these questions, the rest of the planning falls into place quickly. Work through the following for your chosen trail:
- What is the difficulty level, honestly rather than optimistically?
- Is it a loop, an end-to-end point-to-point route, or an out-and-back?
- What’s the total distance, and how many miles per day does that break into?
- Is there a fee to hike or camp on this trail?
- Do you need to book a campsite in advance, or is it first-come, first-served?
- How do you physically get to the trailhead — driving, public transit, or a shuttle?
- How far is the drive, and will you need a hotel the night before or after?
- Is water available along the route, or do you need to carry all of it?
- What season will you be hiking in, and what weather does that season typically bring?
- Will you realistically complete the route in the suggested time, or should you budget more?
Write the answers down somewhere you’ll actually reference again — a notes app or simple document works well. The most reliable sources for this information are official park websites, hiking-specific forums and apps, and — often underrated — other hikers’ trip report blog posts and videos. Searching a trail name alongside a word like “trip report” or “vlog” reliably surfaces firsthand accounts that mention exactly the kind of practical detail official sources skip, like whether the water tanks were actually functioning or whether the trail markers were confusing at a specific junction.
Keep researching until you have a genuinely clear picture of what to expect. The goal isn’t to eliminate all uncertainty — that’s impossible with outdoor trips — but to walk in without any surprises that proper research would have caught.
Step 3: Pick a Date
Your hiking date depends on the weather conditions you’re seeking and your own schedule availability, but it’s worth thinking about deliberately rather than defaulting to the first open weekend. Weekends, holidays, and school break periods bring more people onto popular trails — which might be exactly what you want if meeting other hikers and having company on the trail sounds appealing, or exactly what you want to avoid if solitude is the goal.
Locking in a date does something psychologically useful beyond the practical scheduling function — it turns “I should do an overnight hike sometime” into a real commitment, for yourself and for anyone joining you. That shift from vague intention to a specific date on the calendar is often the difference between a trip that actually happens and one that gets talked about indefinitely.
Step 4: Handle All Bookings
With your date set, this is the stage where you book campsites, pay any park or permit fees, and arrange transportation or accommodation around the hike itself. A genuinely useful habit: stay somewhere close to the trailhead the night before your hike starts. Starting the trip fresh from a nearby hotel or campground beats waking up early and driving several hours before you’ve even put boots on the ground.
If you’re flying to reach your trailhead, build in a buffer of a day or two before your hike start date — enough margin to absorb a delayed flight or lost luggage without derailing the entire trip. Trip logistics that seem like minor inconveniences at home become genuinely serious problems if they happen the morning you’re supposed to start hiking.
Step 5: Assess Your Fitness Honestly
Once your dates are locked and your research is done, take an honest look at whether you need to do some physical preparation beforehand. Almost everyone could reasonably be a bit fitter, and that’s fine — the important thing is calibrating your expectations to your actual current fitness rather than an aspirational version of it.
There’s no substitute for hiking as training for hiking, but that’s not realistic for everyone to arrange before a first trip. Don’t be alarmed if you’re out on the trail and your lungs are working harder than expected, or your legs are more tired than you anticipated by the end of day one with a full pack — that’s a genuinely normal experience for a first overnight trip regardless of your general fitness level. High-intensity interval training is a strong general fitness option if you want to prepare without dedicated hiking-specific training, but any regular cardiovascular activity in the weeks before your trip will help.
Step 6: Build Your Gear List
A written gear list — used consistently and checked off as you pack — is the single most effective way to avoid forgetting something important. Build a list that covers both warm and cold weather scenarios, since conditions can shift even within a single season, and refer back to it every time you pack rather than relying on memory.
Watching gear list videos and reading other hikers’ packing breakdowns is genuinely useful beyond just generating your own list — seeing what experienced hikers deliberately leave behind is often more informative than seeing what they bring. The absence of an item on someone’s gear list, when that person clearly knows what they’re doing, tells you something real about what’s actually unnecessary.
If you’re new to overnight hiking, you do not need expensive gear to get started. Hiring gear, borrowing from a friend, or buying budget options while you figure out your preferences is a completely legitimate approach. A first hiking pack doesn’t need to be premium — a $60 secondhand pack, a garage-sale water bladder, and kitchen utensils from home cover the actual function just fine, even if they add some weight and reduce some comfort compared to premium gear. You’ll figure out what you actually want to upgrade after you’ve used budget gear on a real trip and know firsthand what bothers you and what doesn’t.
One point that applies regardless of budget: pack for all weather conditions, even in peak summer. Rain and cold snaps happen outside the forecast’s confident predictions, and being unprepared for a temperature or precipitation shift is a genuinely dangerous gap rather than just an inconvenience. Our what to wear hiking in summer guide covers the layering principles that keep you prepared without overpacking.
Step 7: Plan Your Food
Food planning benefits enormously from a simple written system. Using a three-day hike as an example: write out each day of the trip and note which meals you actually need to pack for that day. If you’re eating breakfast at a hotel before hitting the trail on day one, that’s one breakfast you don’t need to carry. Total up the number of breakfasts, lunches, and dinners across the full trip, plus how many days of snacks you’ll need.
Then get specific about what you’re actually eating for each meal rather than leaving it vague. Repeating the same breakfast every day — something simple like muesli with protein powder — removes decision fatigue and simplifies your shopping list. Lunches that don’t require cooking — cheese and crackers, tuna and crackers, wraps, or a sandwich prepared fresh on the first day before it needs to survive a pack — keep midday stops simple. Dinners are where more preparation-intensive options make sense: homemade dehydrated meals or store-bought freeze-dried options both work well after a full day of hiking when a hot meal matters most.
For snacks, balance what you’ll genuinely be excited to eat — chocolate absolutely counts — against what your body actually needs, particularly protein sources like nuts or jerky that sustained physical effort burns through. The internet has extensive meal and snack idea lists if you want more structure than starting from scratch.
Once your list is finalized, shop for everything at once. Repackage food into resealable bags rather than carrying original packaging — strip away boxes, foil wrapping, and anything else that adds bulk and weight without adding food. A box of crackers becomes just the crackers in a bag; the box and any inner wrapping stay at home. Reusable bags washed and reused across multiple trips reduce both cost and waste over time.
For meals that require cooking, our best hiking cookware guide covers lightweight pot and stove options sized appropriately for solo and small-group backpacking.
Step 8: Understand Hiking Etiquette and Leave No Trace
Before heading out, refresh yourself on Leave No Trace principles — packing out everything you bring in, including all trash, and staying on the established trail rather than cutting new paths that widen the trail corridor and cause erosion. These aren’t complicated rules, but they’re easy to forget in the moment if you haven’t internalized them beforehand, and they matter significantly for keeping trails in good condition for everyone who hikes them after you.
Being a considerate presence on the trail extends beyond formal Leave No Trace principles too — yielding appropriately to other hikers, keeping noise reasonable, and generally being a good trail citizen contributes to why some of these popular routes remain pleasant to hike despite heavy use.
Step 9: Create an Itinerary and Do Final Checks
Put together a written itinerary of your planned route and timing, and print a physical copy — one for yourself and one for someone outside your hiking group who’ll know where you are and when to expect you back. This is a genuine safety practice, not just an organizational nicety: if something goes wrong, a person with your printed itinerary can tell rescuers exactly where to look and how overdue you are.
Add any last-minute details that matter for your specific trail — updated weather forecasts, tide times if you’re hiking coastal terrain, sunrise and sunset times if daylight timing matters for your itinerary. A physical printed copy is worth having alongside the digital version on your phone, since phone batteries die and service drops out in exactly the situations where that information matters most.
Step 10: Go
By this point, you’ve researched the trail, secured your bookings, built your gear list, planned your food, and left your itinerary with someone who’ll notice if you’re overdue. That’s genuinely comprehensive preparation, and it’s normal to still come away from your first overnight trip with things you’d do differently next time — that’s not a sign you planned poorly, it’s just how experience works.
What works for one hiker’s food preferences, pack weight tolerance, and daily mileage comfort will differ from the next person’s, and that’s fine. The point of a first overnight trip isn’t to execute someone else’s system perfectly — it’s to build your own understanding of what you actually need, what you can leave behind, and what your own pace and preferences look like on multi-day trail time.
Quick Reference: The 10-Step Planning Sequence
- Pick a trail — search for well-documented, structured options for your first trip
- Research thoroughly — difficulty, route type, distance, fees, bookings, access, water, season, timing
- Pick a date — commit to a specific date to turn intention into a real plan
- Handle bookings — campsites, permits, transportation, pre-trip accommodation
- Assess your fitness — honestly, without needing to be in peak condition
- Build a gear list — write it down, use budget or borrowed gear if needed, prepare for all weather
- Plan your food — meal by meal, day by day, repackaged to minimize weight and waste
- Review Leave No Trace principles — pack out everything, stay on trail
- Create a written itinerary — leave a copy with someone outside your group
- Go — and expect to learn something for next time
Final Thoughts
The gap between day hiking and multi-day backpacking is almost entirely a planning gap rather than a skill gap. Anyone who can comfortably day hike has the physical foundation to backpack overnight — what’s missing the first time is simply the experience of having worked through trail selection, water planning, food logistics, and gear decisions once before.
Do it methodically the first time using a process like this one, and by your second overnight trip, most of this planning becomes intuitive rather than something you need to consciously work through step by step. Hike your own hike, adjust what didn’t work, and the multi-day trips get easier and more enjoyable every time.